Data Visualization and Dashboard with Initial State (Single Values)
Data Visualization and Dashboards with Initial State

What do we do with all this data?
- A single IoT device can generate significant of sensor data
- A fleet of thousands of devices compounds this
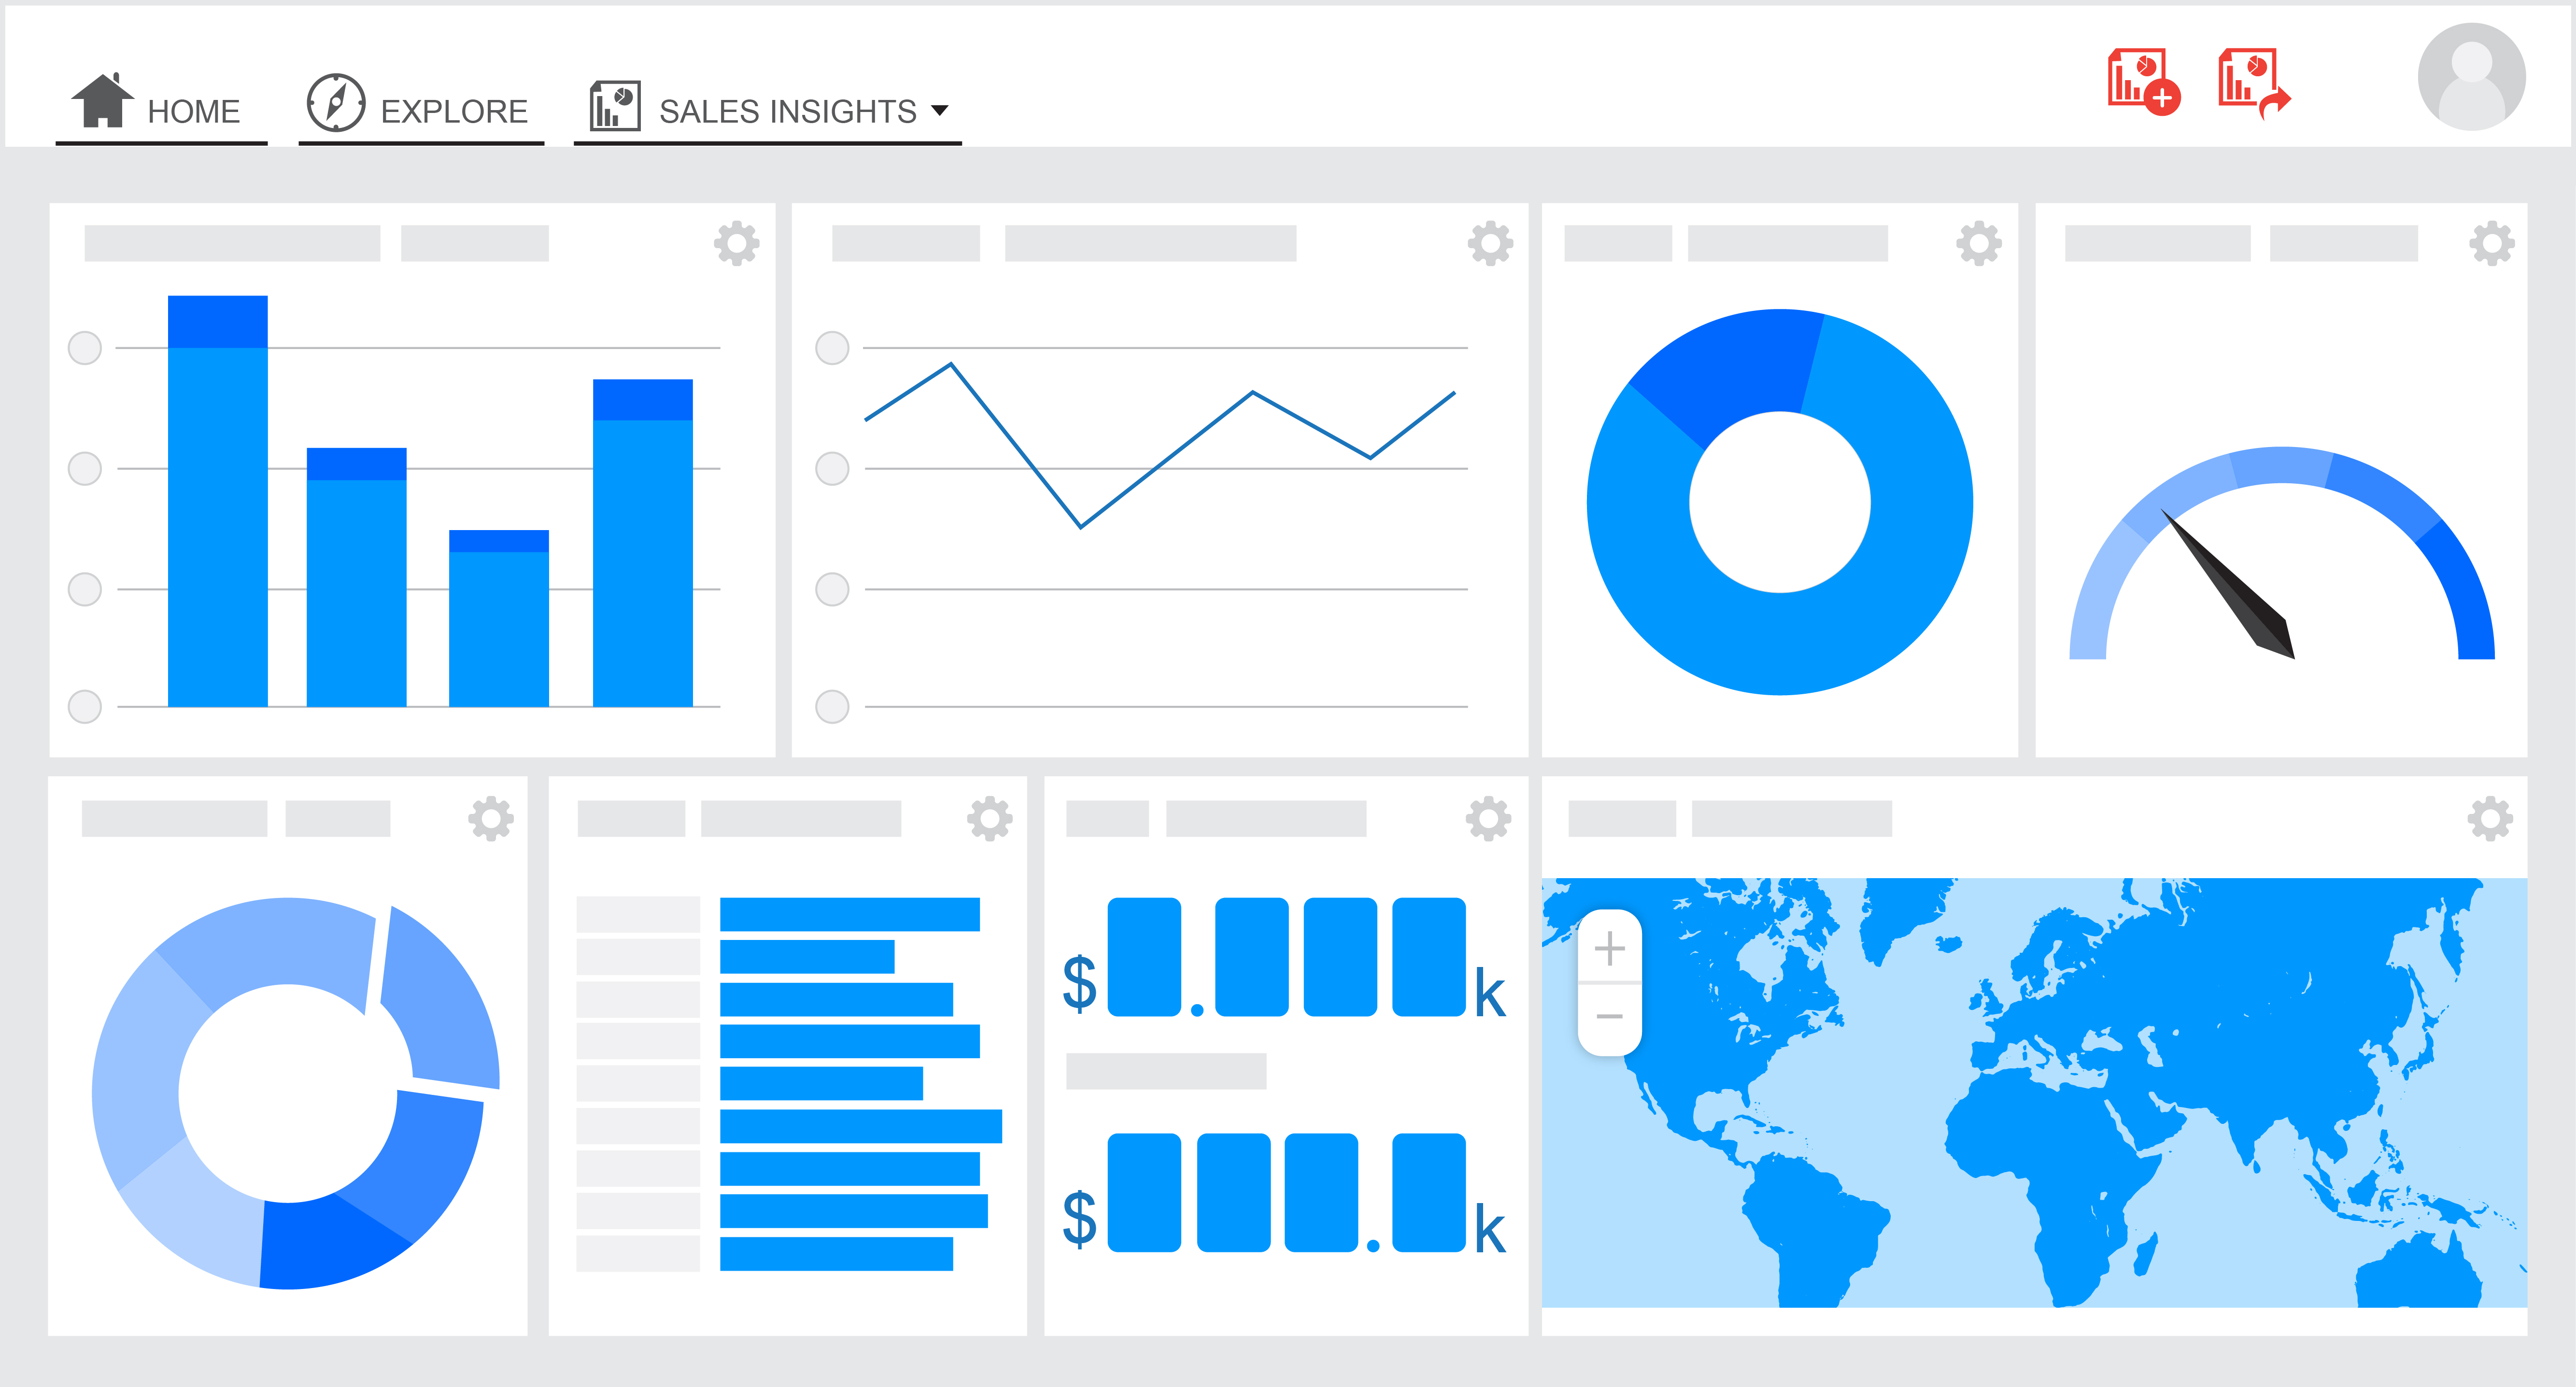
- A dashboard can help provide visual feedback and control over our IoT devices and data
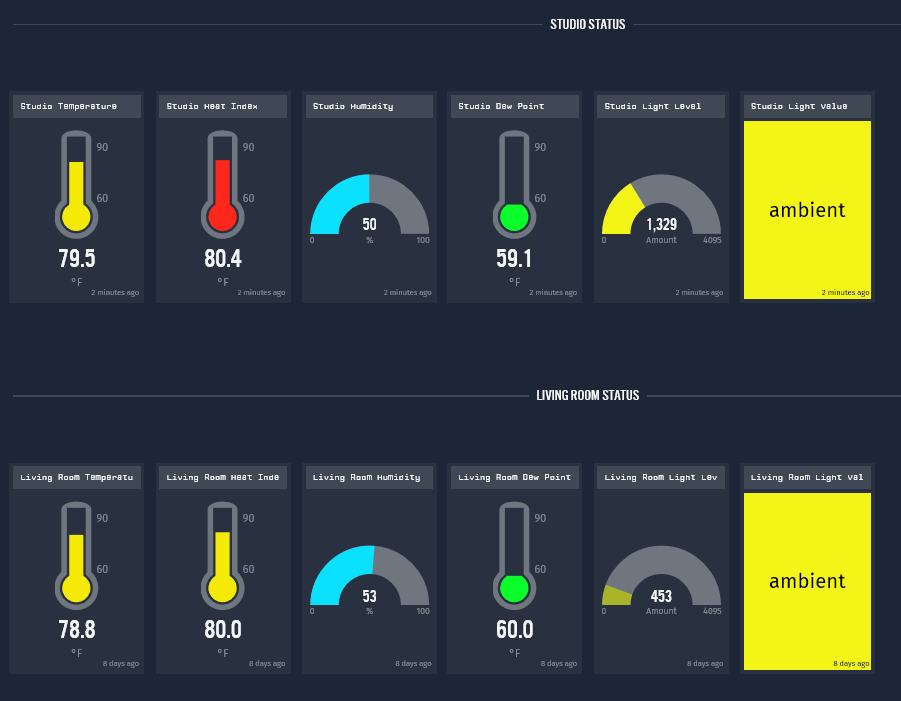
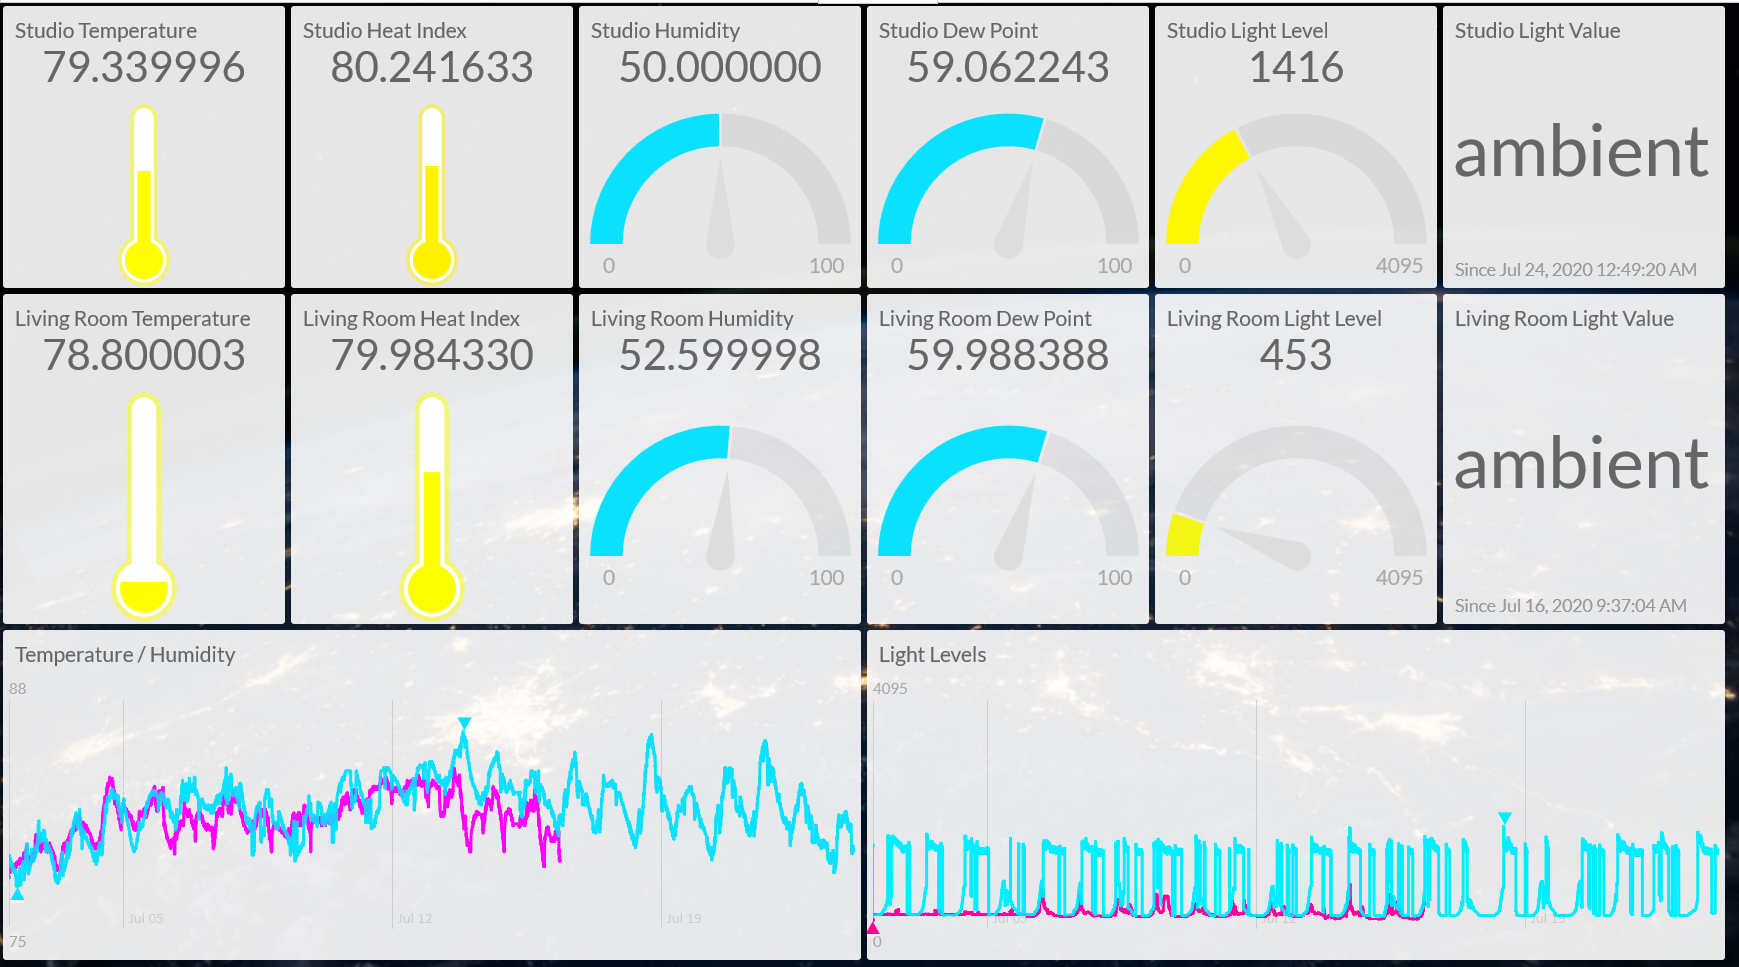
Example Environmental Dashboard


Uses of Dashboards
- View real-time sensor data
- Compare data to historical trends
- Monitor IoT devices for errors or network issues
- Map devices GPS location
- Remote control (execute functions) on devices
Dashboard Platforms
- Google Cloud IoT (many IoT services)
- Microsoft Azure IoT (many IoT services)
- Amazon Web Services (many IoT services)
- Losant (many IoT services)
- Ubidots
- Tinamous
- Initial State
Initial State (https://initialstate.com)
- Initial State is a data visualization service for IoT
- Send data from Photon 2 to be stored at Initial State
- Create complex graphs and dashboards with the values from your Photon 2
- Generous free tier!
- Initial State can also send SMS and email alerts based on the data (though this requires a paid plan)
Configuring Photon 2 and Initial State
- The following examples are provided as a quick reference
- More detailed steps are described in the lecture
Steps to Connect Photon 2 and Initial State
- Create account at https://initialstate.com (make sure to use your student email and change )
- Create stream bucket at https://initialstate.com
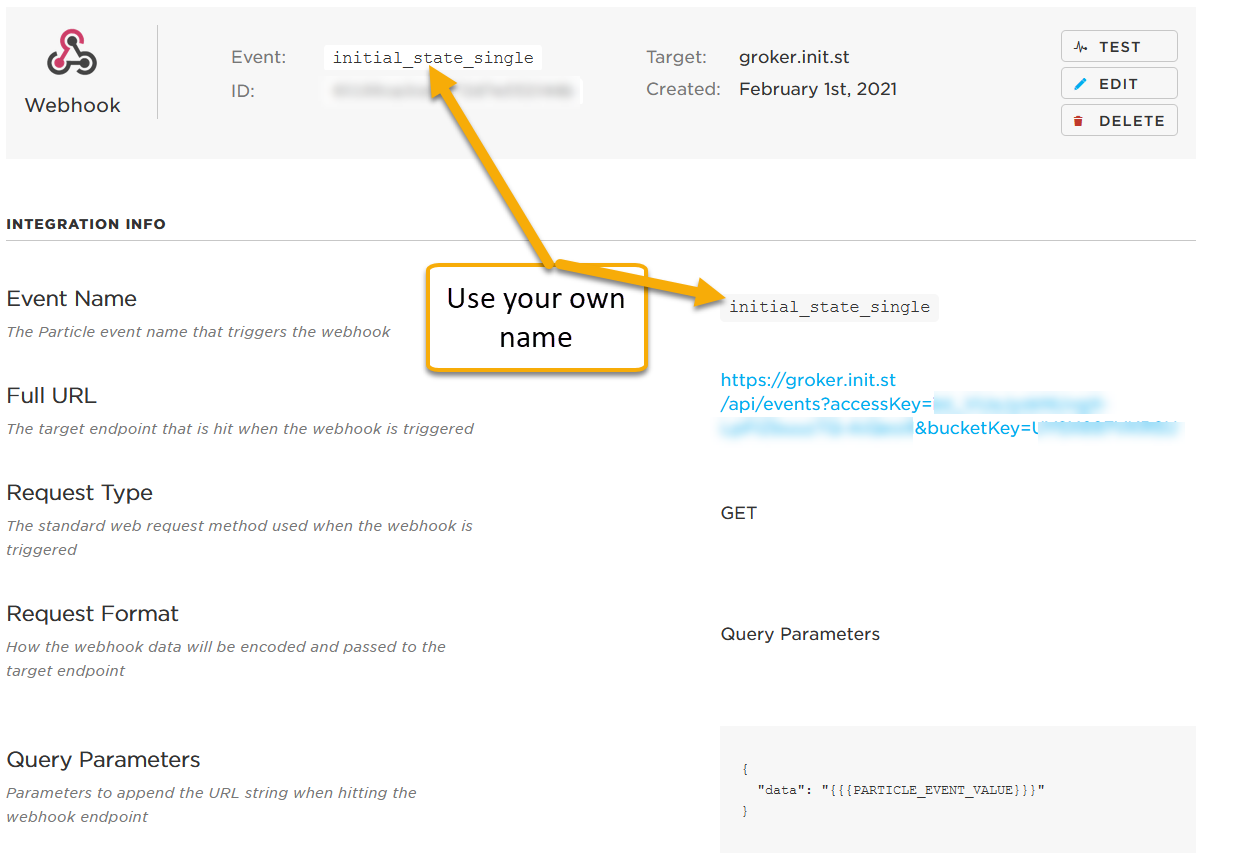
- Create an integration -> webhook on Particle console
- Write firmware sketch and flash Photon 2
Aside: Access Key (or API key)
- Many webservices require you to register and then they provide you with an API key (ex:
zaCELgL. 0imfnc8mVLWwsAawjYr4Rx-Af50DDqtlx) - This randomly-generated string serves as the login and password (credentials) to your account
- Purposes
- Account security (no one but you can read / write data)
- Prevent abuse / hacking
- Throttling / account limits (enforce limits on read/write frequency)
Example 1: Send Single Data Point from Photon 2 to Initial State
Initial State Settings
Example 1: Send Single Data Point from Photon 2 to Initial State
Particle integration settings

Example 1: Send Single Data Point from Photon 2 to Initial State
Particle integration settings
YOUR_CUSTOM_DATA_LABEL > {{{PARTICLE_EVENT_VALUE}}}
Example 1: Send Single Data Point from Photon 2 to Initial State
Photon 2 code
double temp;

void loop() {
  temp = 89;		//just example; temp should come from sensor

  // Trigger the integration
  Particle.publish("inital_state_single", String(temp), PRIVATE);
  delay(60000);	//use delay or millis to avoid publishing too frequently
}
Exercise - Send Temperature Value to Initial State
- Connect TMP 36 to Photon 2
- Read temperature value and send to Initial State
Exercise - Send Temperature Value to Initial State

Credits
- Growthlakes CC BY-SA
- Image created with Fritzing