Basic Blink
Assignment 1 – Basic Blink
Goals
-
Test software installation
-
Test device configuration
Requirements
-
Connect to additional Wifi networks (optional)
-
Create a Workbench project
-
Setup project settings
-
Flash firmware to device
Connect to additional Wifi networks
- The Photon 2 can remember the settings for multiple Wifi networks (just like a phone). If you need to configure for a different network than the one you first connected it, simply follow the instructions in assignment 0 again or go through process at https://setup.particle.io/
Create Workbench Project
-
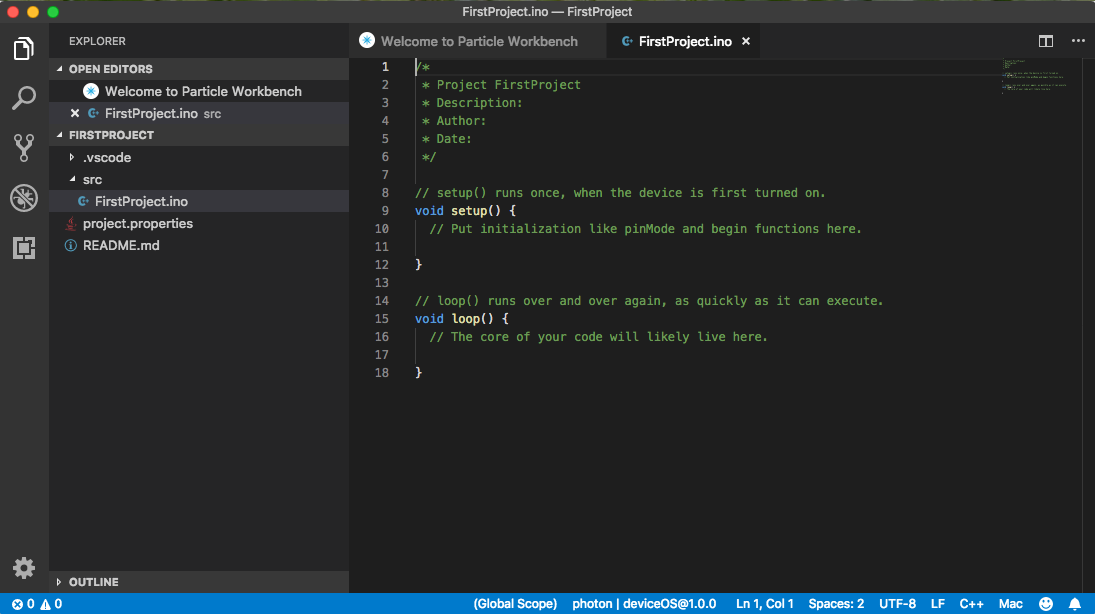
Follow the instructions to create a Workbench project:
https://docs.particle.io/quickstart/workbench/#create-a-project -
Complete only the first step (do not move onto Compile Project
Login to your Particle Account
- In Workbench, Go to View > Command Palette
- Type Particle: Login.

- Type Login with Username
- Enter the username your used to register your Particle account (this will be your email address)
- Enter the password your used to register your Particle account
- When prompted to enter a 6-digit login code, leave it blank and hit Enter on your keyboard (Note: if you set up two factor authentication on your account, then enter the code here)
Setup device settings
-
In Workbench, Go to View > Command Palette
-
Type Particle: Configure Project for Device.

- Select the device OS version you want to like to build for. It is recommended to use the latest stable version (this means the highest numbered version without rc or beta in the name). This means you are using the newest version of the operating system that is not being test (and so presumably it does not have bugs or errors). In the picture below, the latest stable version has been noted.

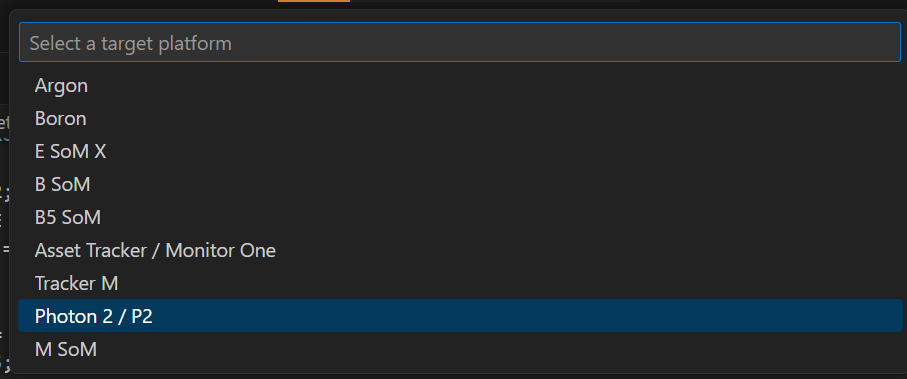
- Select the type of device to you want to build for. For our course, we will always use Photon 2 / P2

- Enter the name of the device you want to flash to. This will be the name gave your device when you initially connected it to your Particle account.

Creating Your Firmware

-
In the CPP file that opened when you created a project, paste the following code into
void setup():pinMode(D7, OUTPUT); -
and paste the following code into
void loop():digitalWrite(D7, HIGH); delay(1000); digitalWrite(D7, LOW); delay(1000);
Flash Firmware to Device
- In the Command Palette, type Particle: Cloud Flash
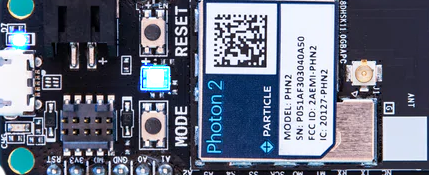
- It may take a few minutes to successfully complete. When the firmware has been successfully installed, you should see the light on the device (labelled “D7”) near the USB port blinking blue.

Naming convention
(replace # with the current assignment number)
-
Project Name:
itp348_a#_lastname_firstname -
Zip File (project folder):
itp348_a#_lastname_firstname.zip
Deliverables
-
A compressed file containing your project. Follow the guidelines for full credit.
Here are the instructions for submission
-
Navigate to your project folder.
-
Include the entire folder in a zip file
-
Rename the zip file based on naming convention
-
Upload zip file to Brightspace site for our course
-
-
A photograph of your device connected to USB with the cyan light on (indicating it is connected).
Grading
| Item | Points |
|---|---|
| Project code | 5 |
| Device photo | 5 |
| Total | 10 |