Installation and Setup Using Device Doctor
IMPORTANT: This is not the preferred to setup your Photon 2, but if you need to join a Wifi network without a password (like USC Guest Wireless), you should use this approach since https://setup.particle.io doesn’t work with empty passwords (as of 1/2024)
Assignment 0 – Installation and Setup
Nothing to submit
Requirements
- Connect photon 2 to Computer
- Create Particle account
- Install Particle Workbench
- Install Fritzing
- Add photon 2 device to your Particle account
IMPORTANT - Browser
You need to use the Chrome browser to configure your Photon 2; you can not use Firefox or Safari.
________________
Connect your Particle Photon 2 to your Computer
- Connect the antenna (discussed in class)
- Connect the Photon 2 to your breadboard (discussed in class)
- Connect the micro USB cable to your computer
Create Particle account
In this course, we will use an internet-enabled microcontroller, specifically the Particle Photon 2. In order to communicate with the Photon 2 (e.g. to install new firmware code), we will use Particle’s cloud software.
-
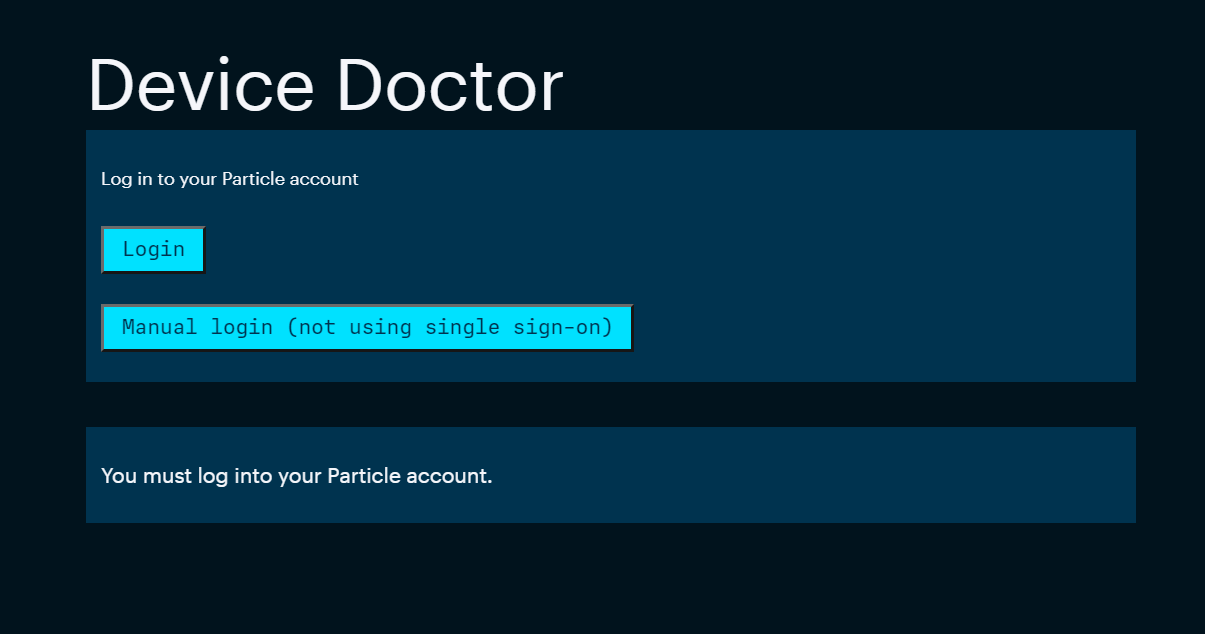
You need to use the Chrome browser to configure your Photon 2 and visit this site: https://docs.particle.io/tools/doctor/
-
Go to Login and create a new personal account
Setup Your Device
Continue with setup in your web browser
-
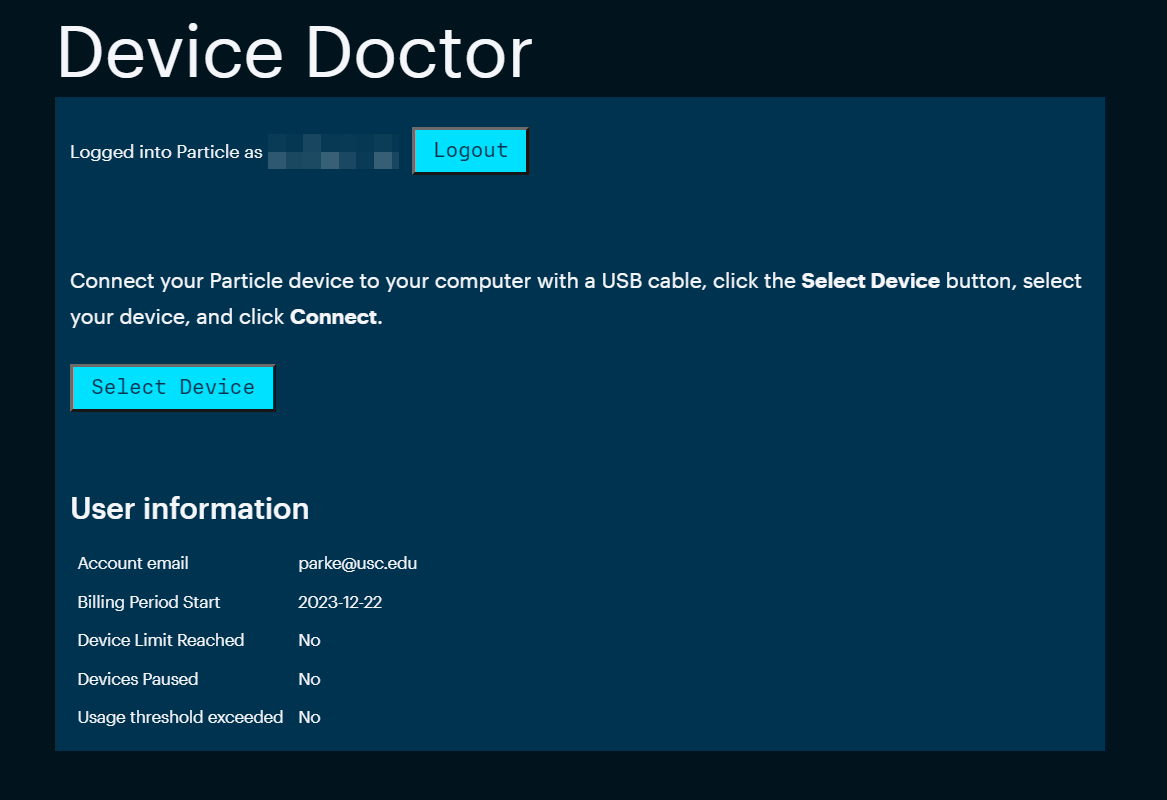
Go to Select Device
-
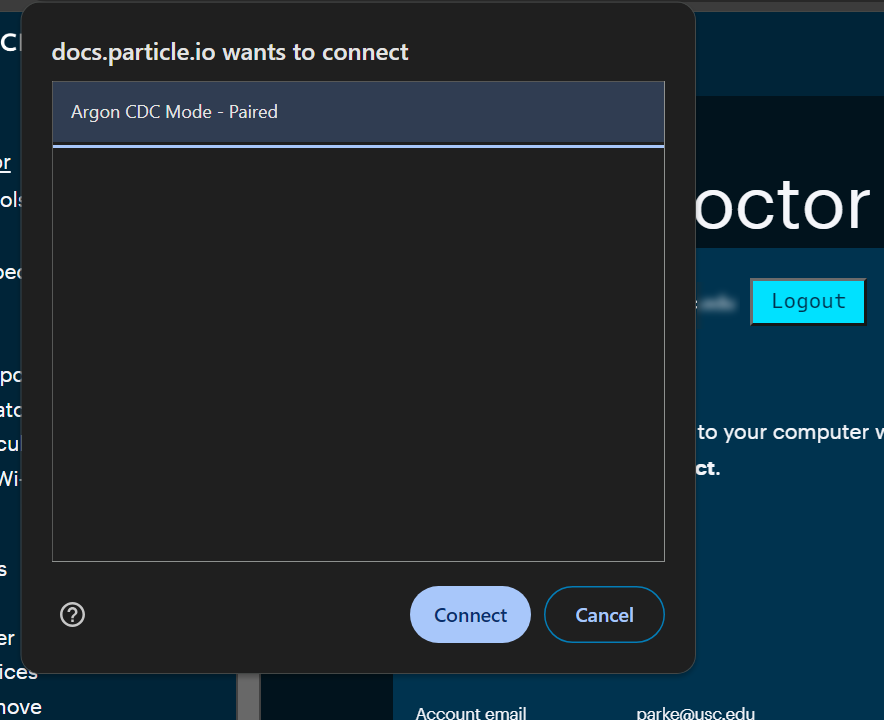
In the popup window, select the Photon 2 device and choose Connect
- Select Flash Device
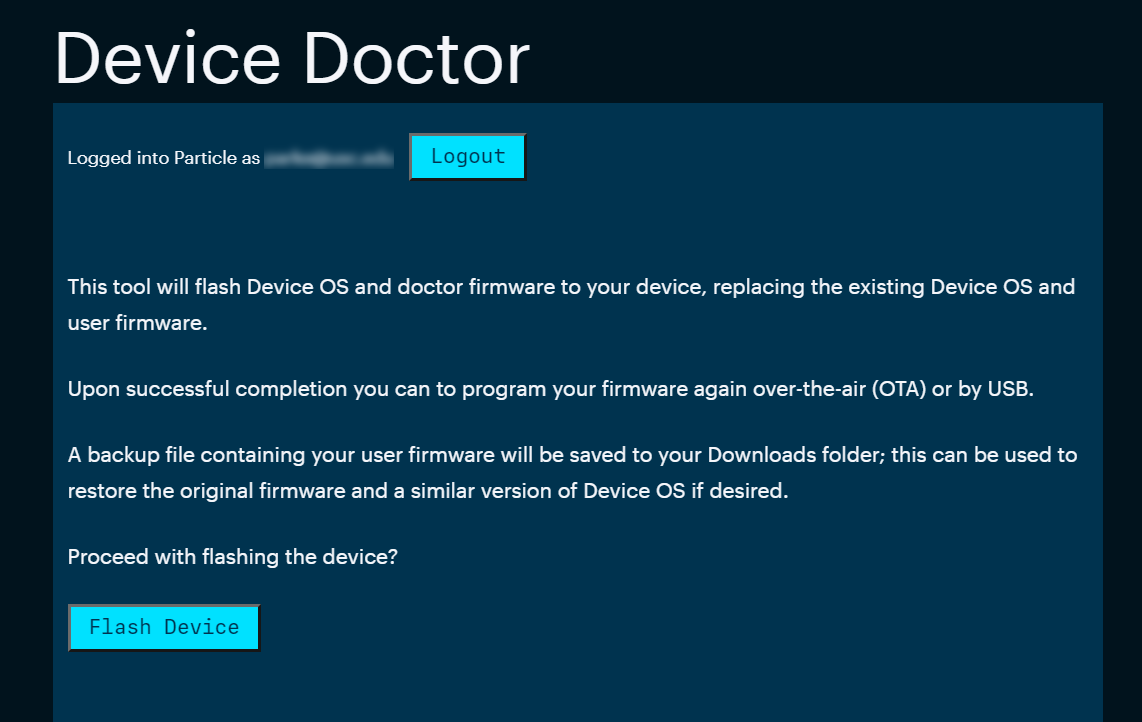
- This process will take few minutes. As the Photon 2 updates, it will blink different colors.
-
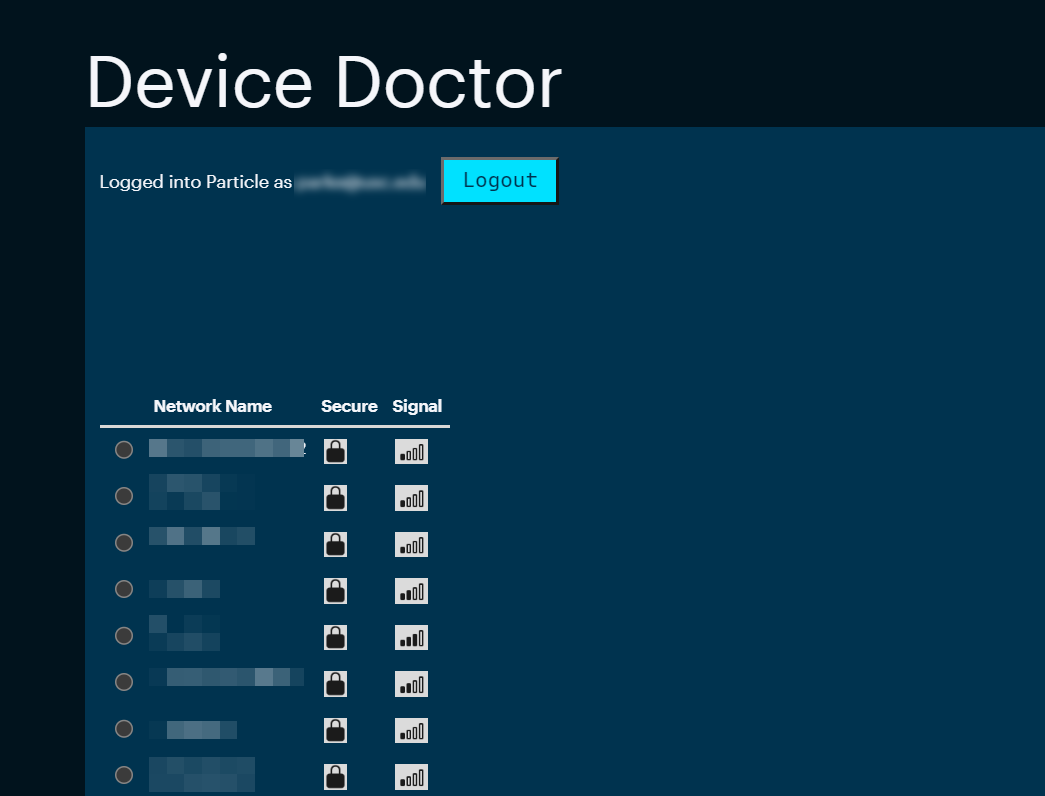
Select your Wifi network. For open networks without a password (like USC Guest Wireless), leave the password blank.
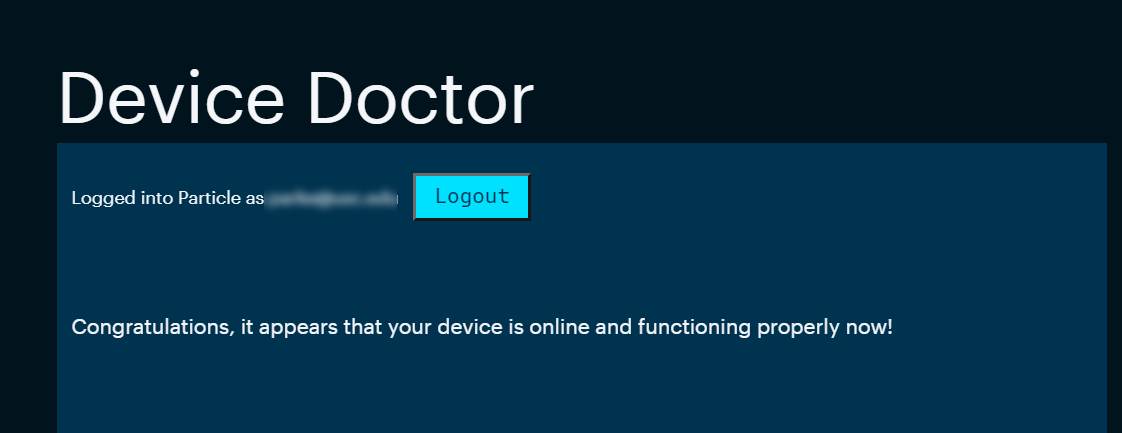
- After a few moments, you should see this screen which means it completed successfully.
Install Particle Workbench
Workbench is the IDE we will use to write firmware code as well as to install it on the device
-
Open Chrome and visit the site: https://www.particle.io/workbench/
-
Download and install Particle Workbench
Install Fritzing
Fritzing is a program to create visual layouts of device projects.
-
ITP has paid for a Fritzing support license for the class. To download it, please go to the course Brightspace site and click on “Fritzing Download”.
-
Download and install Fritzing, and then continue these instructions
Install Fritzing Library for Additional Parts
There are additional we will used in class that we need Fritzing parts for.
-
Download the library for Fritzing:
https://github.com/reparke/Fritzing_Collection/archive/main.zip
-
Unzip the file (take note of the folder location)
-
Open Fritzing
-
On Parts panel on the right side of the screen, click the small dropdown menu and choose Import…
-
Navigate to the folder with the file you downloaded and open
ITP_348_Parts.fzpz -
Click the small dropdown menu on the Parts panel again and chose Save Bin
Deliverables
- There is nothing to submit for this assignment.