Guide to Smart Watch Assembly
Smart Watch Assembly
Items You will Need:
- Scissors
- Strip of red loop-side (soft) Velcro (2” x 14”)
- Strip of clear hook-side (rough) Velcro (1” x 10”)
- Small black strip of hook-side (rough) Velcro (1/2” x 2”)
- Breadboard
- LiPo battery
- Photon 2
STEP 1:
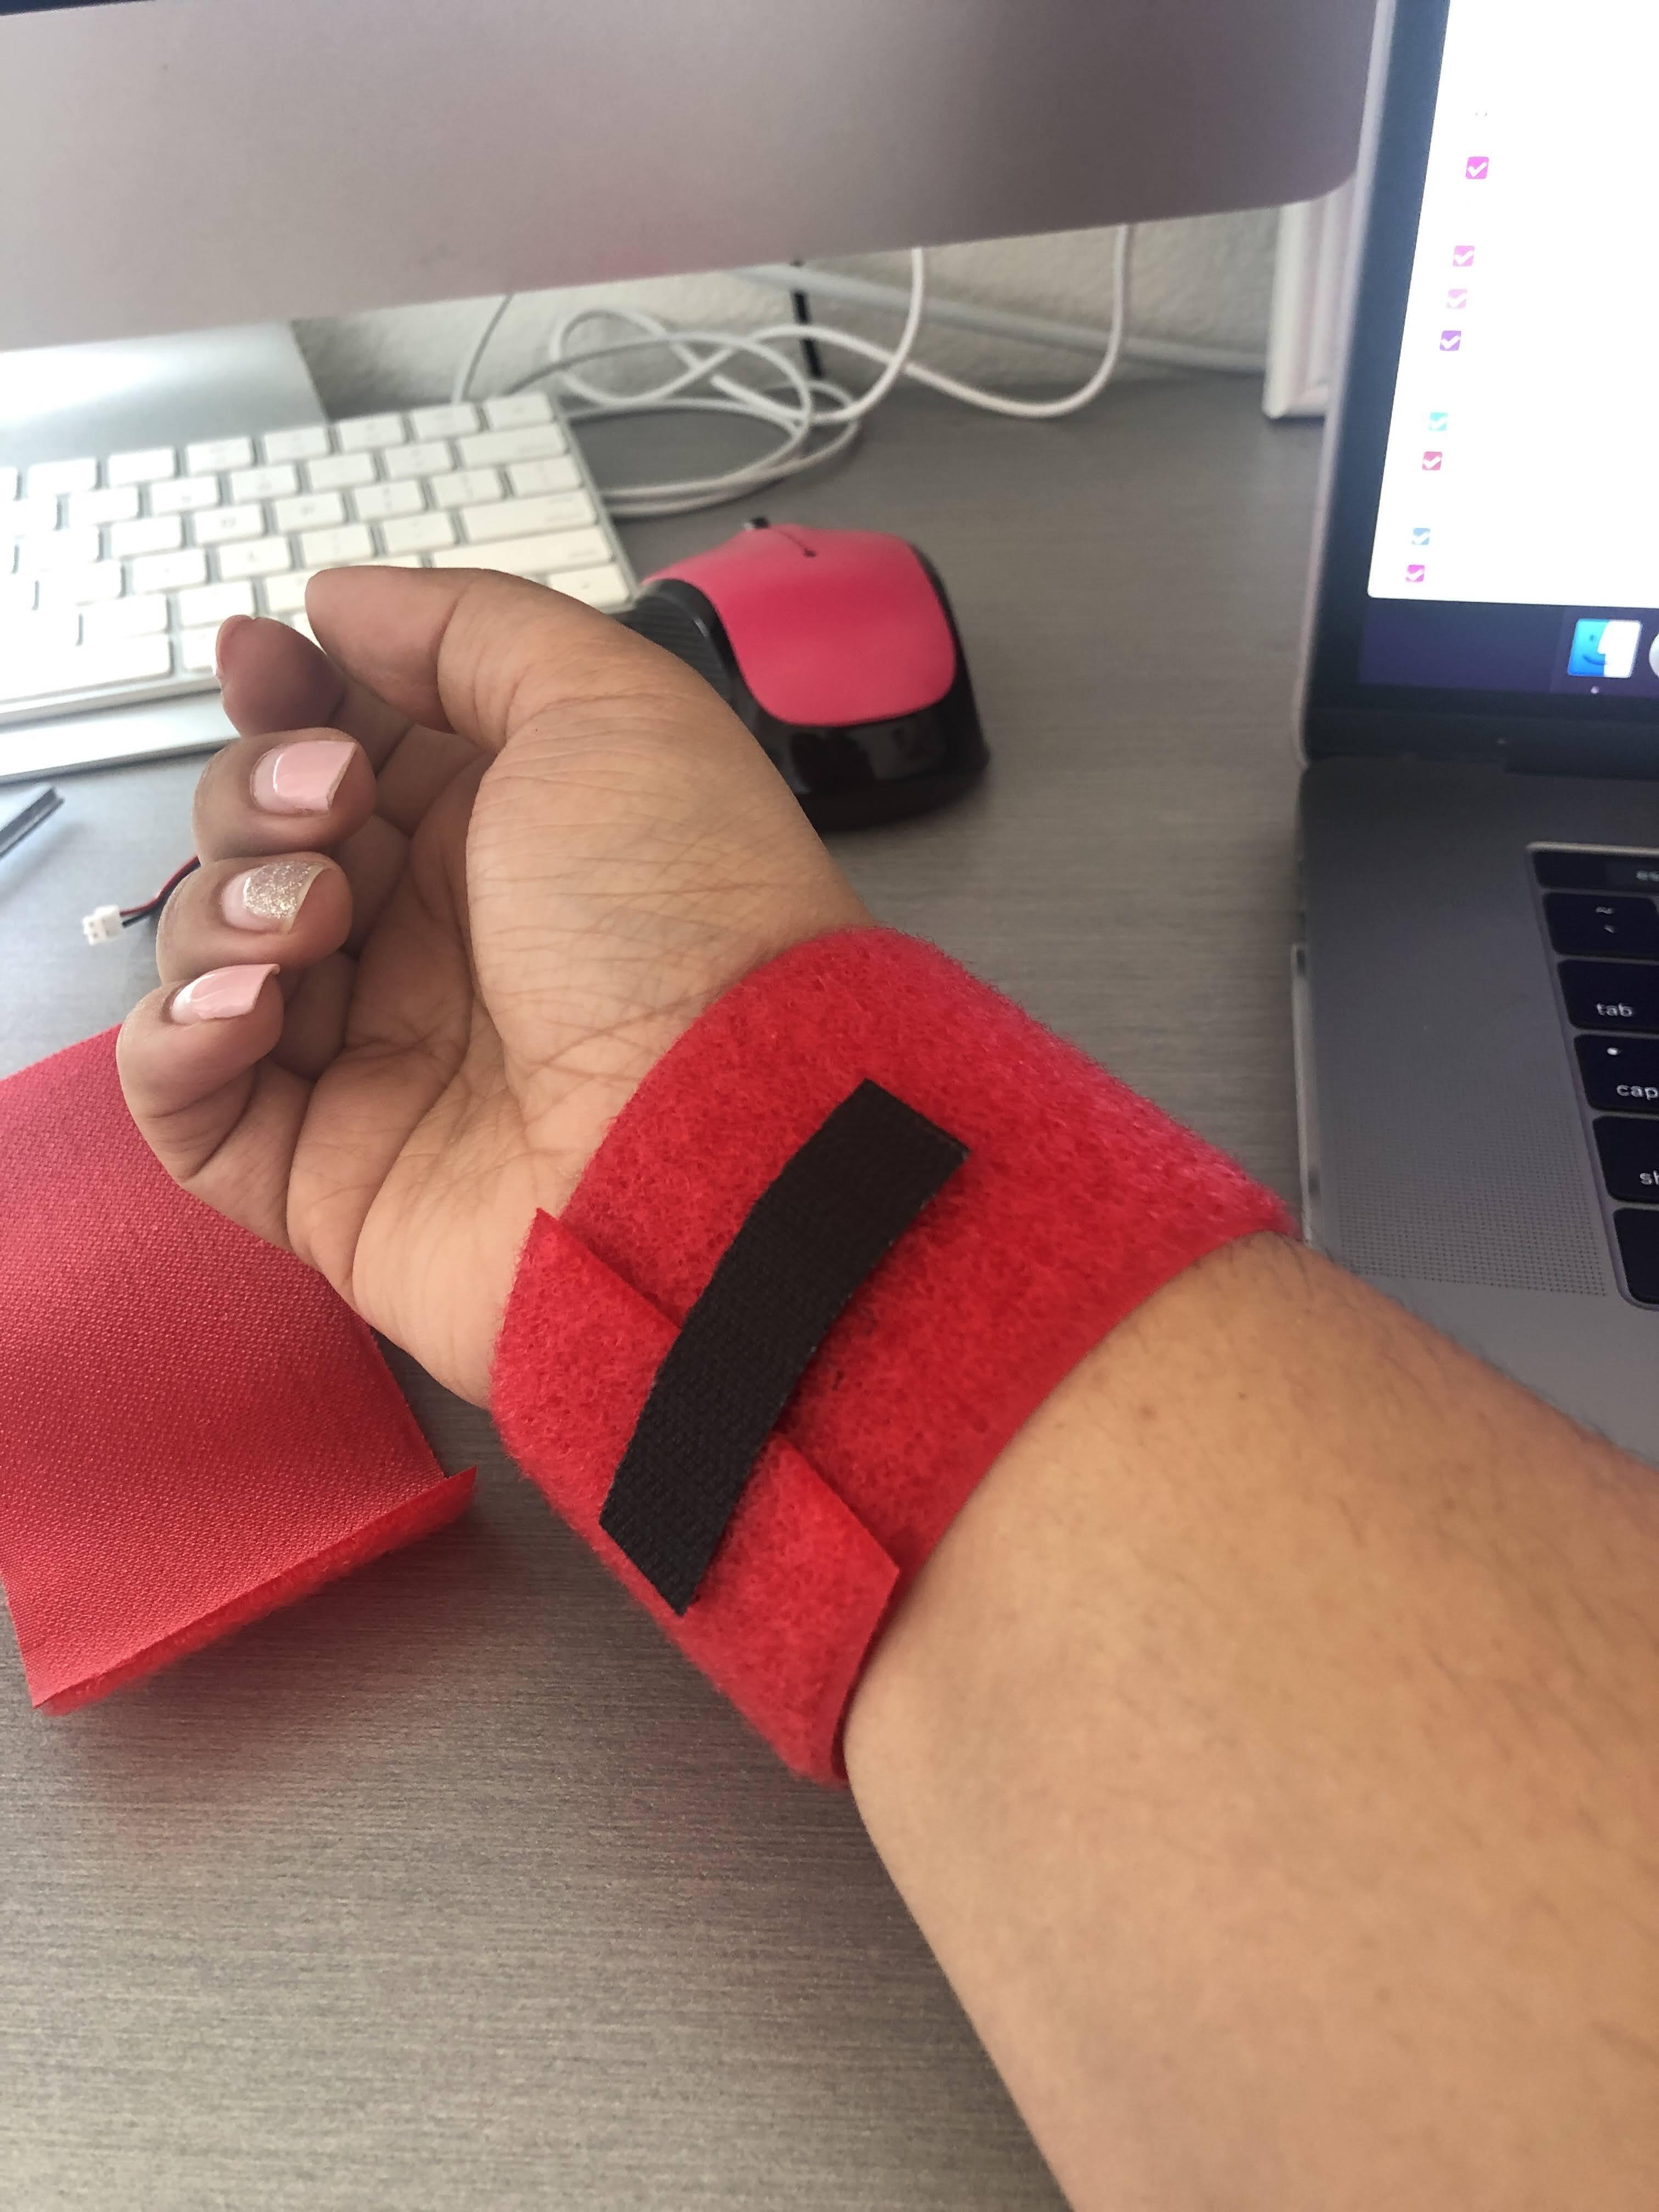
Cut the red velcro to go around your wrist. The velcro will need to wrap around your wrist so make it longer at first to test. The strip should comfortably wrap around your arm. Then, attach the small black strip of velcro to one end. This will serve as the “clasp” of your smart watch.
Note: Inspect the velcro and notice the two sides. You want the soft side (right side in picture below) with loops sticking out. The other side (left in picture below) is just a vinyl backing and isn’t part of the velcro connection. The vinyl side should touch your wrist.

STEP 2:
Cut velcro strips. You will need 4 pieces of velcro (2 for the battery and 2 for the breadboards). You might want to look ahead before you do this step; if you already have velcro attached to your battery and breadboard, you won’t need to cut all of these strips.
- 1 or 2 - 1”x1” squares
- 2 - 2”x1” strip
STEP 3:
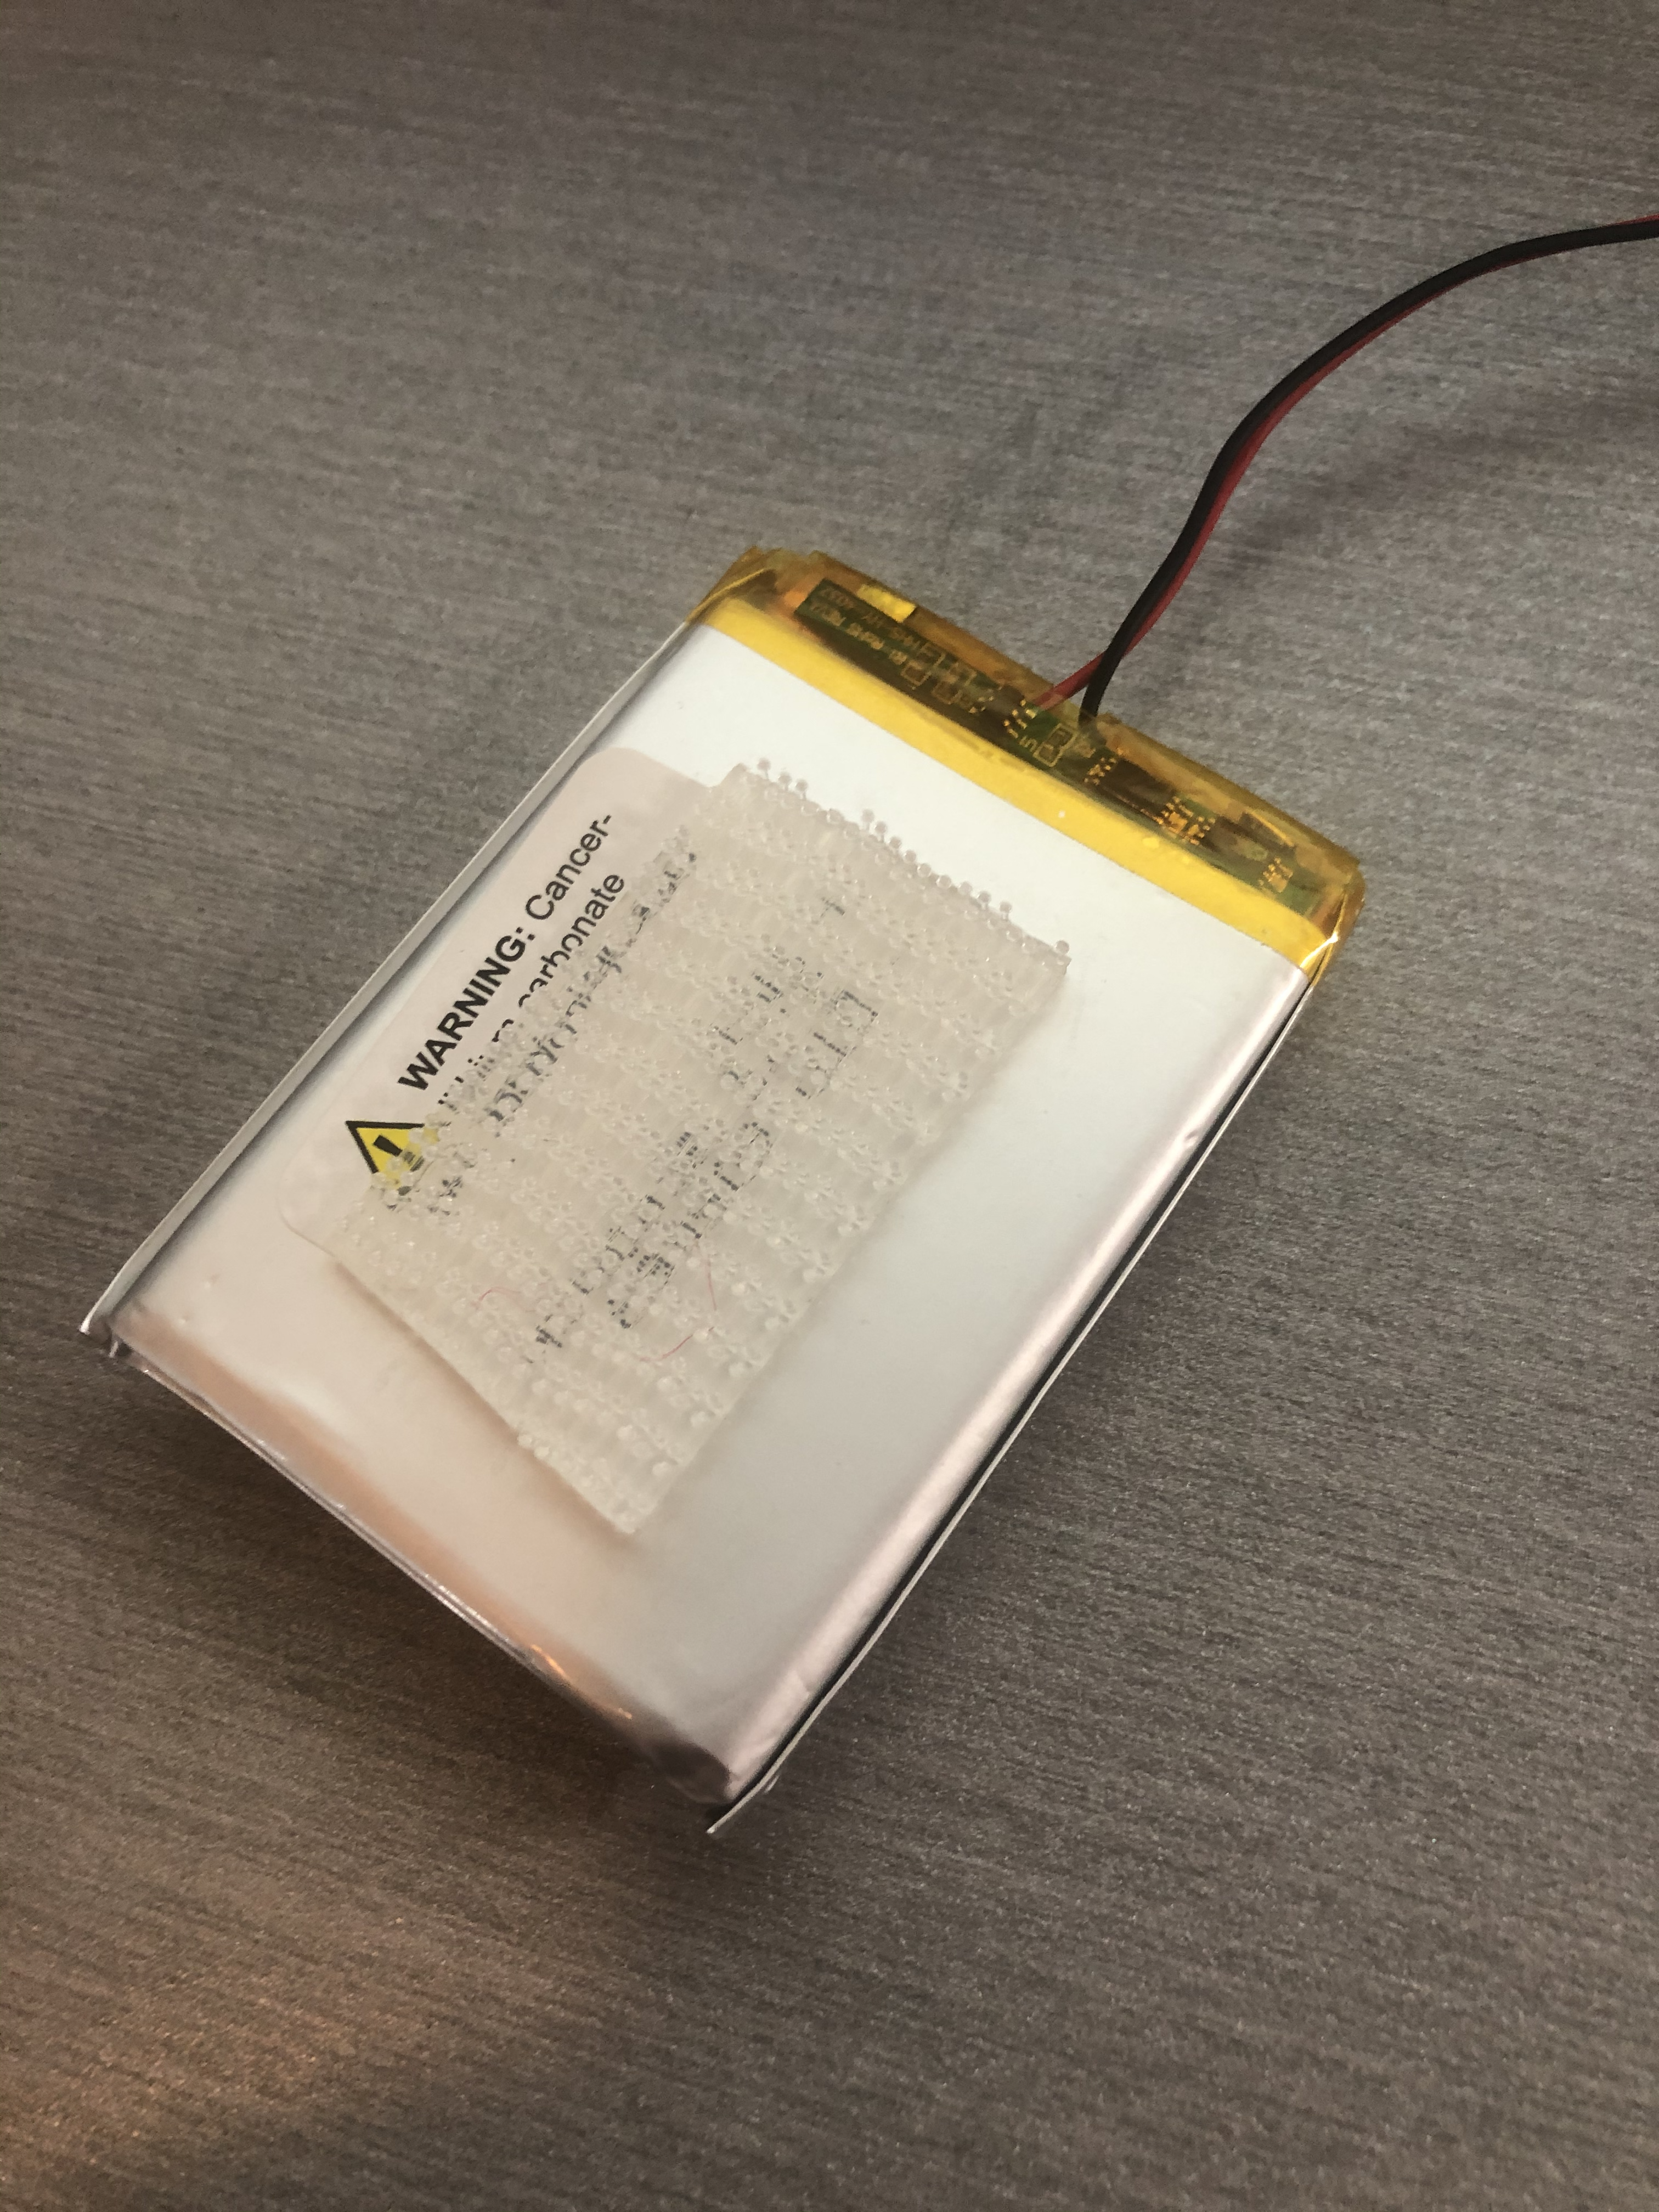
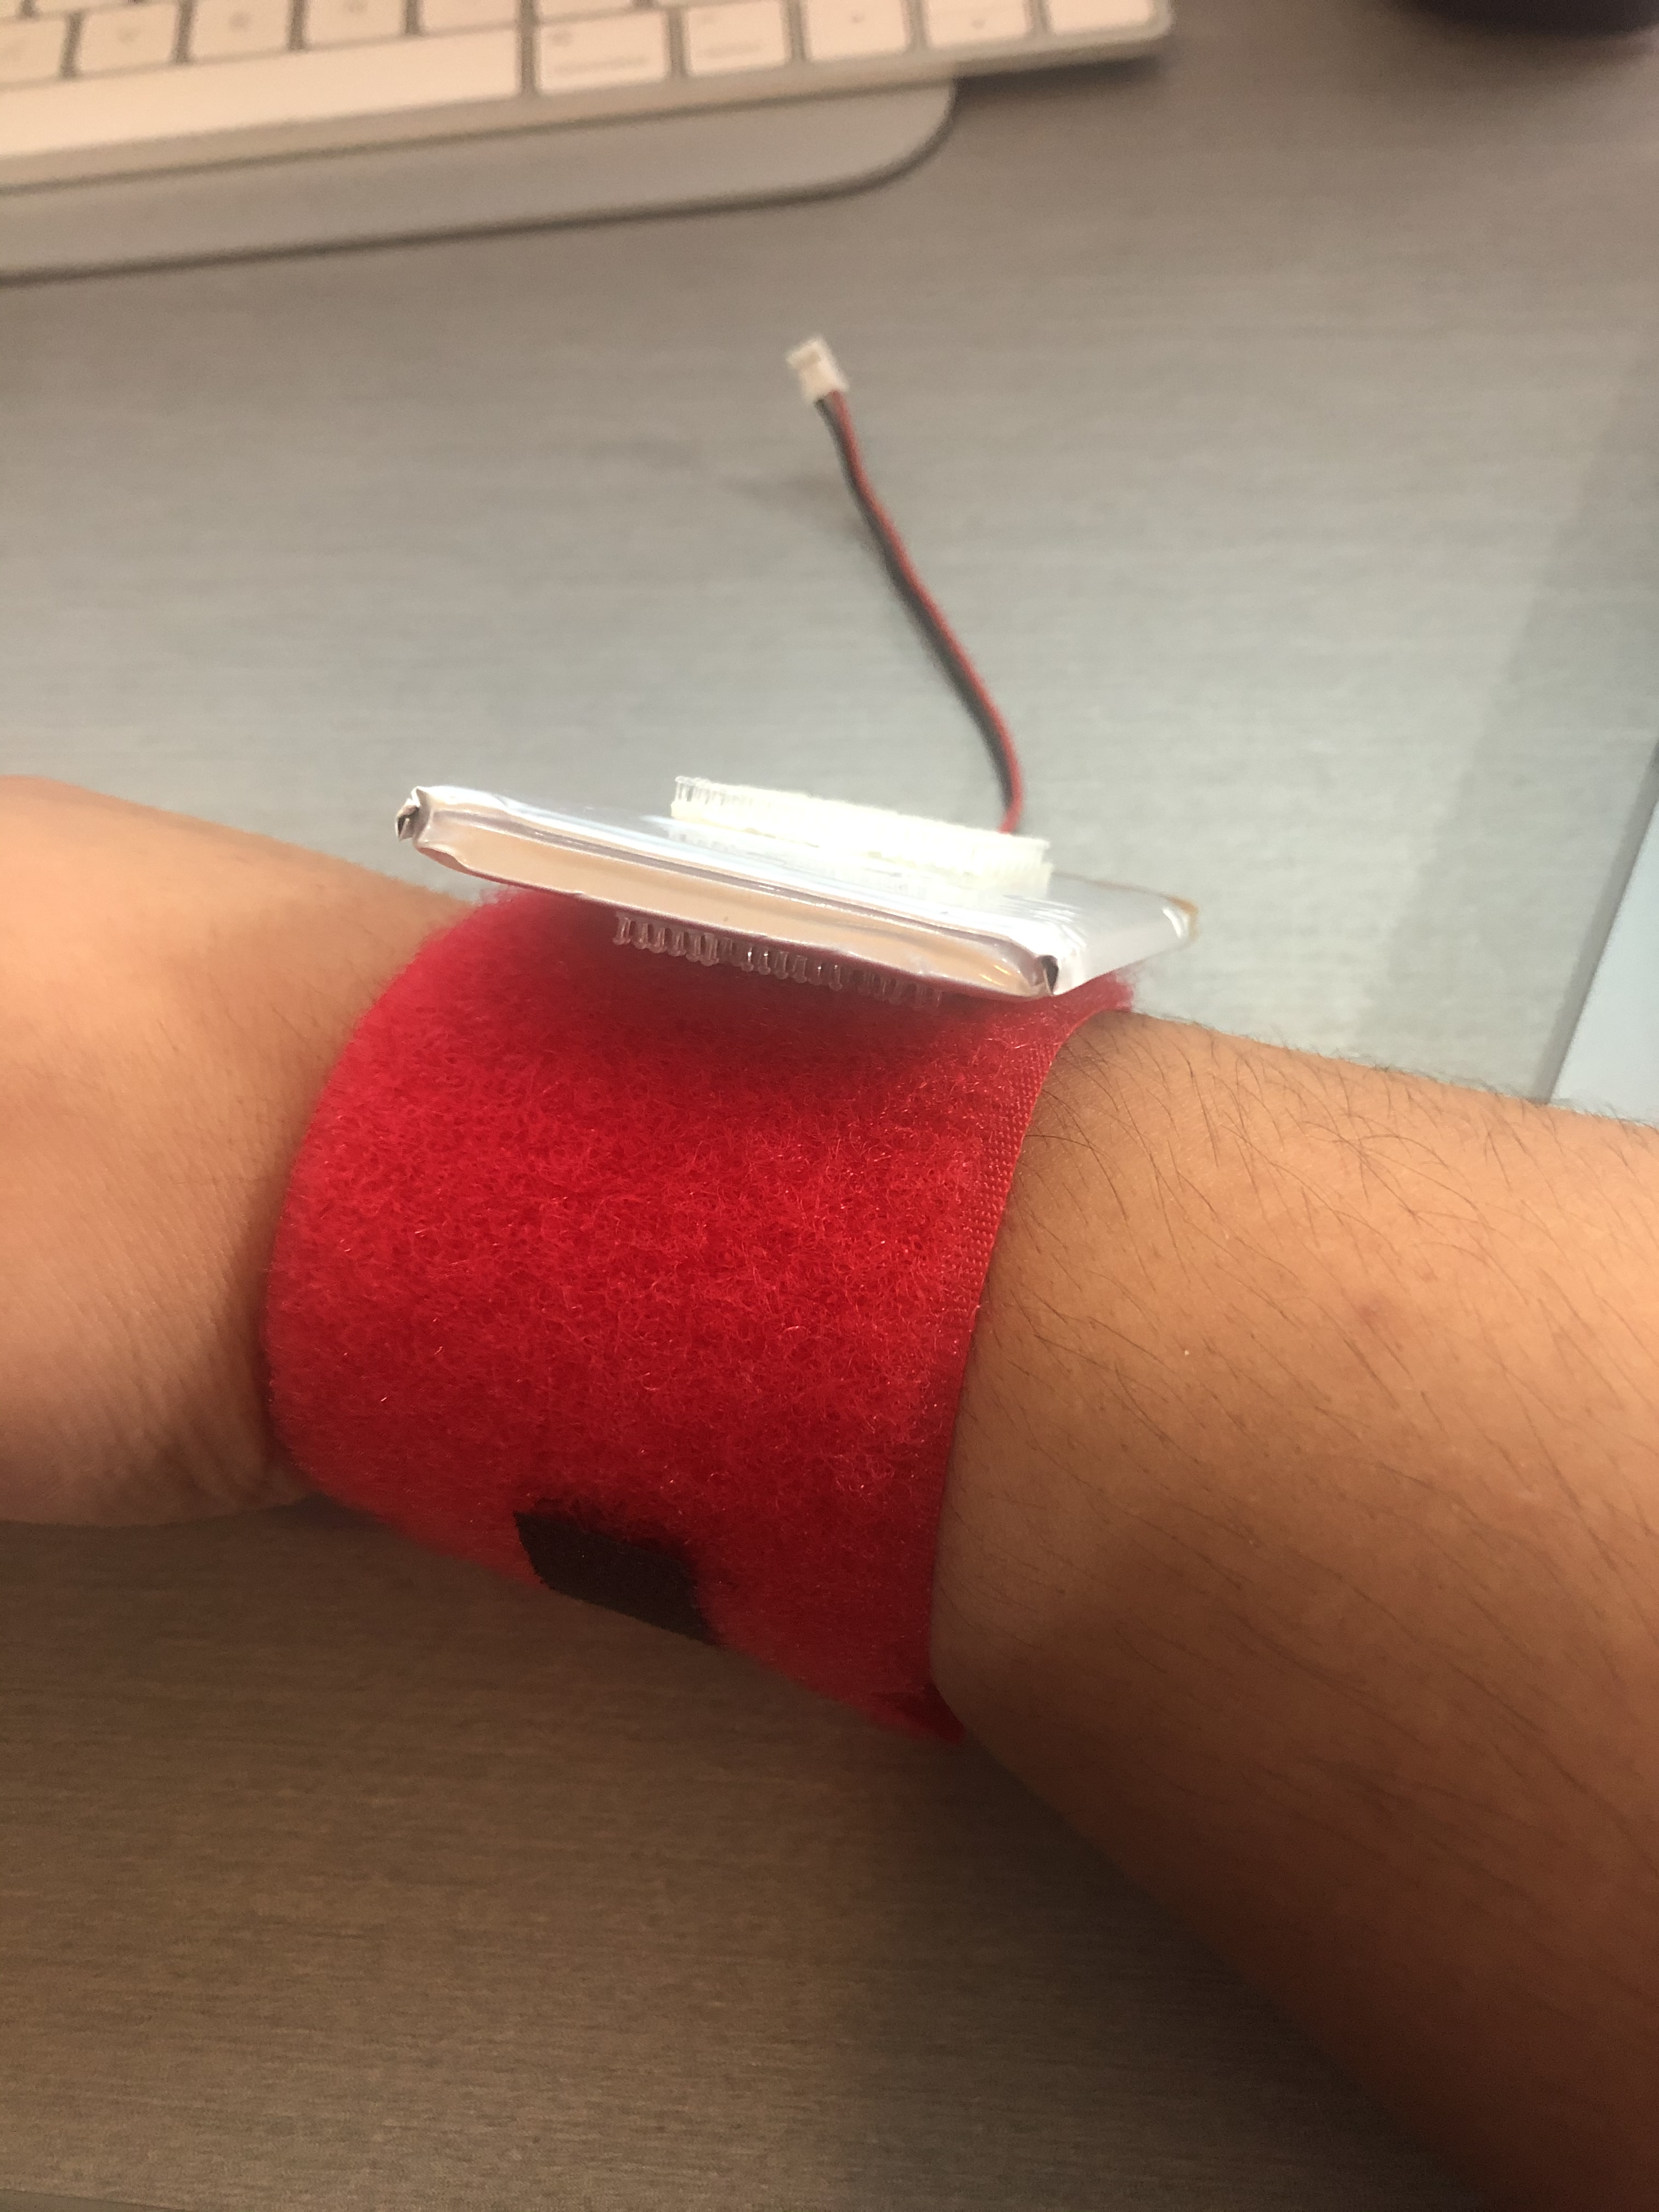
Attach a 2”x1” strip of velcro to the LiPo battery (may have been done in a previous project). Place a 1”x1” square of velcro in the center on top and bottom of the battery. Wrap the red velcro strip around your wrist so that it is clasped and comfortable. Take note of where the “center” is, and attach the battery there with velcro.
STEP 4:
Attach velcro to bottom of breadboard (may have been done in a previous project). Carefully peel off adhesive covering on bottom of breadboard (don’t take off actual foam-like adhesive) and place a 1”x1” square of velcro on the bottom of the breadboard. If you want you can also attach a piece of paper or cardboard to the bottom for the breadboard before attaching the velcro.
Connect the breadboard with velcro on the bottom to the velcro on the top of the LiPo battery.
Breadboard with velcro
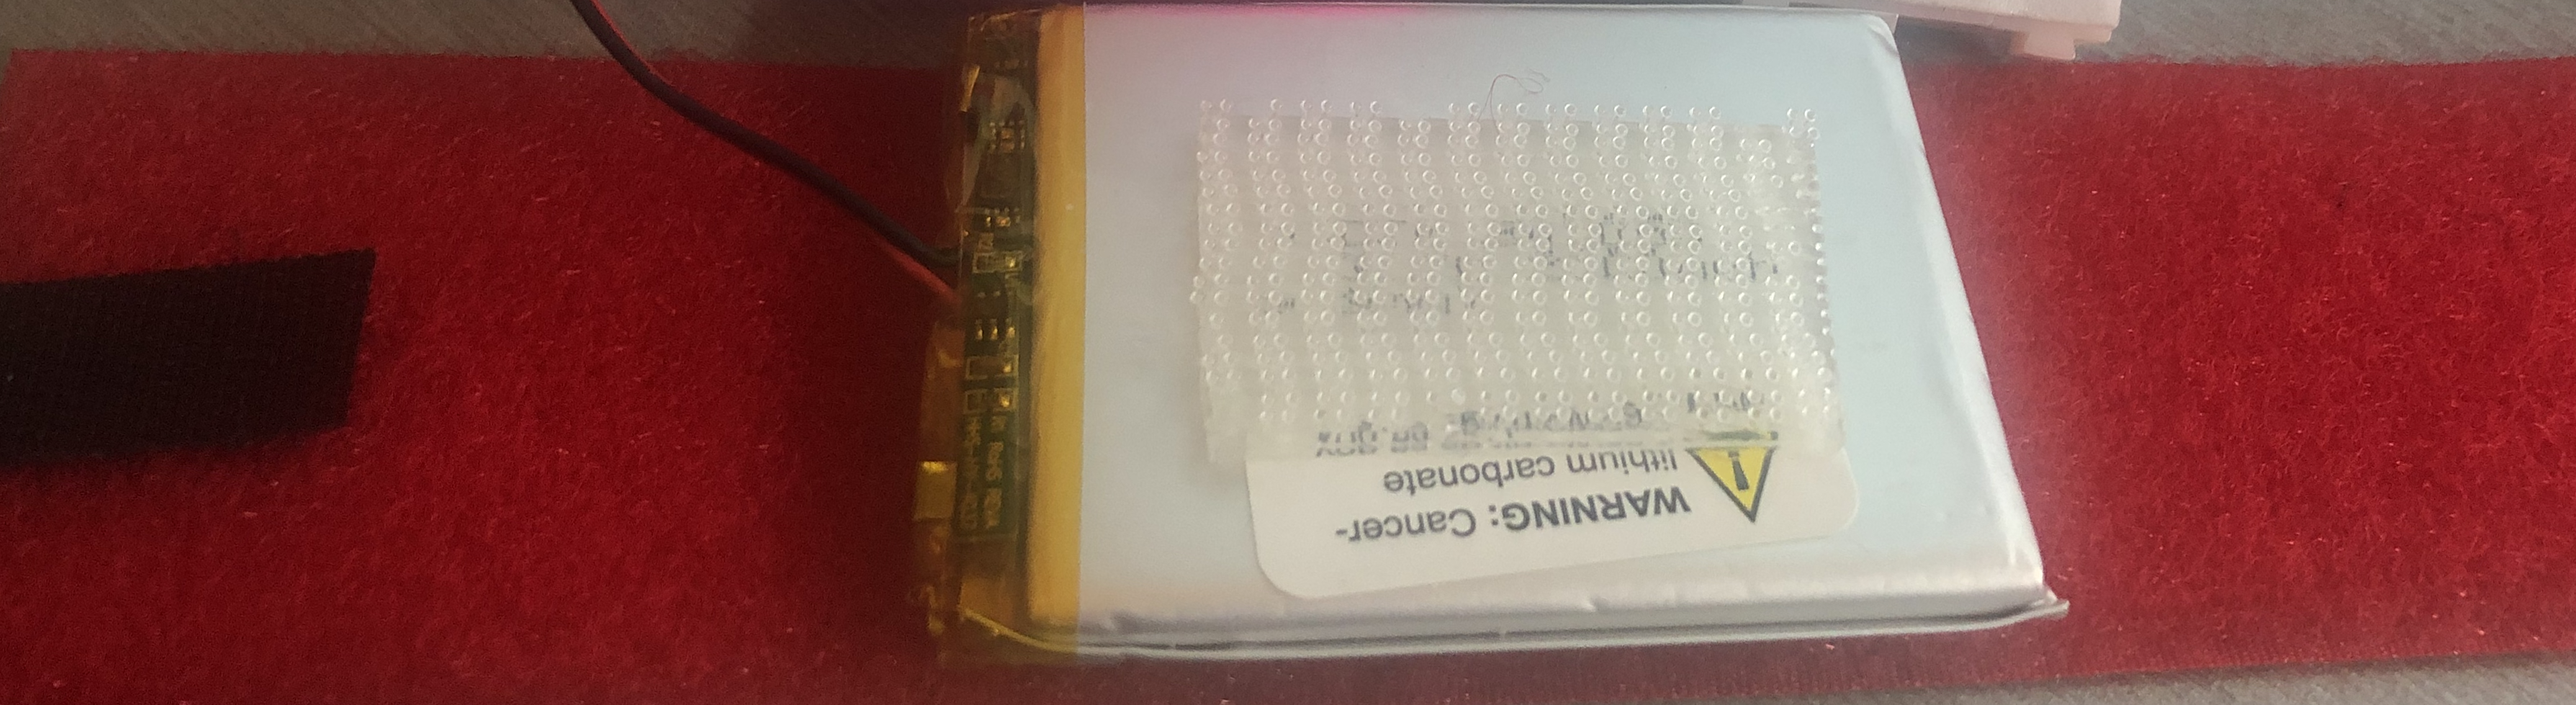
 Battery with velcro and strap
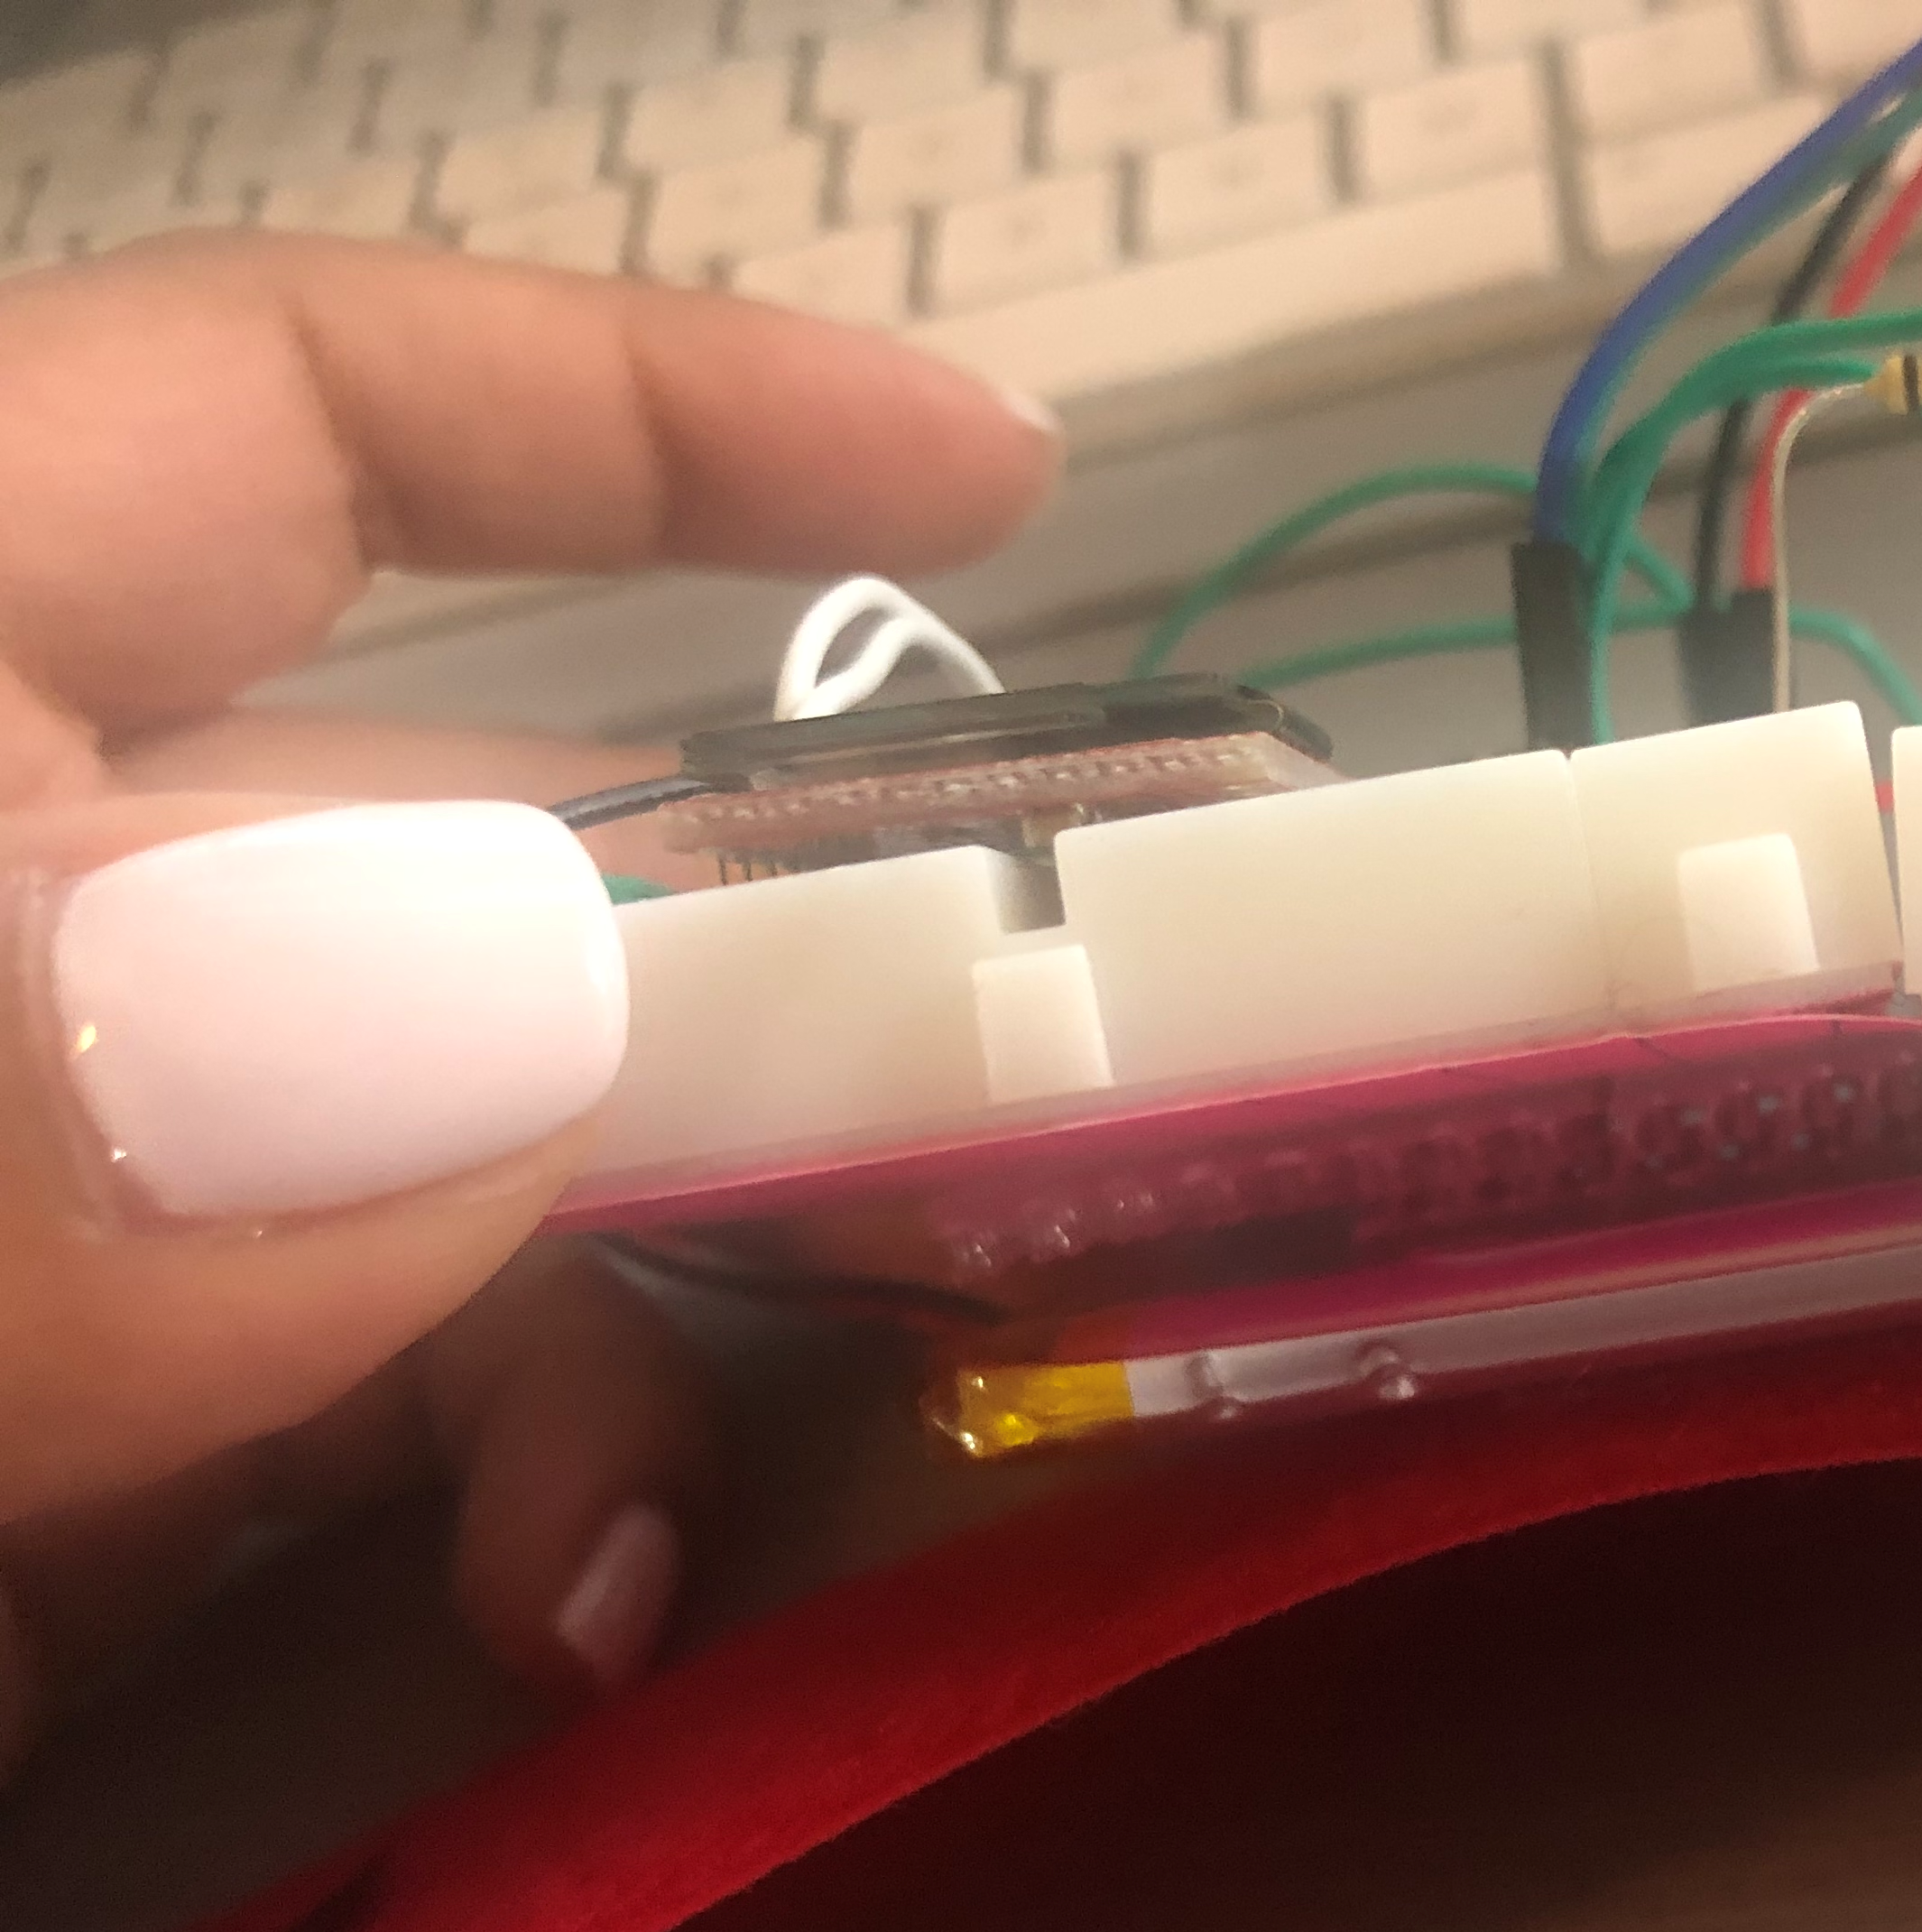
 Breadboard, battery, and strap
STEP 5:
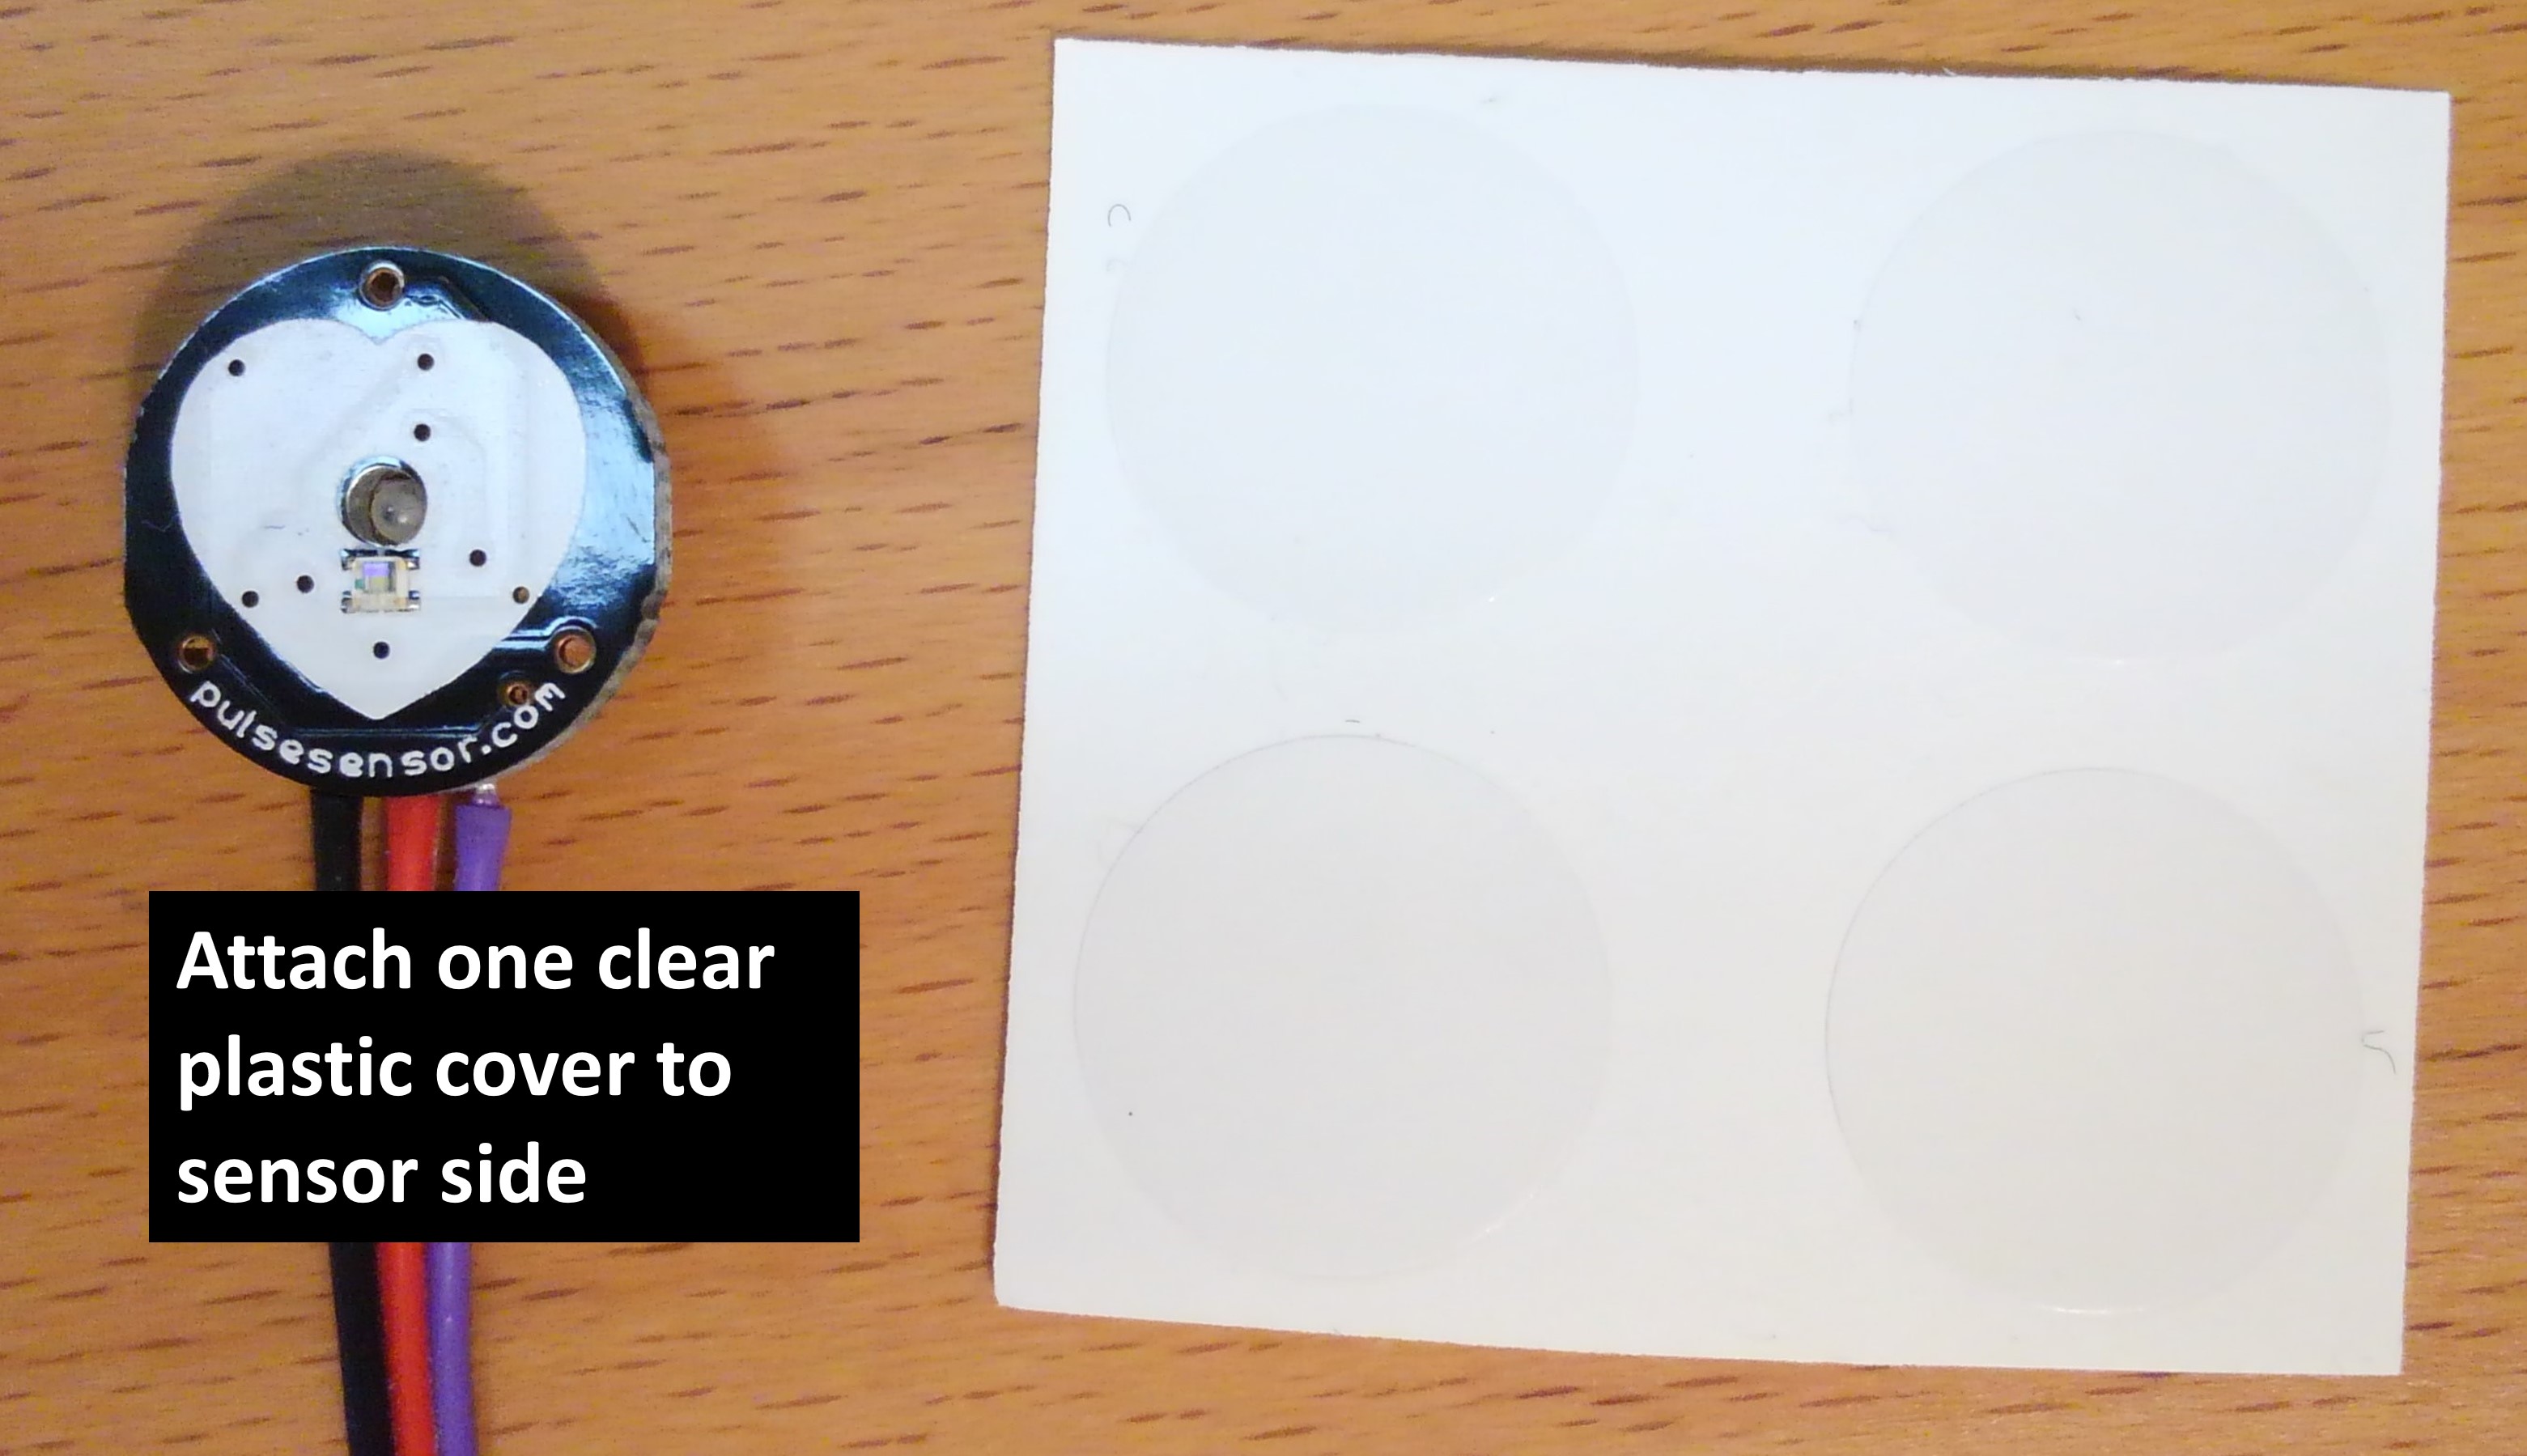
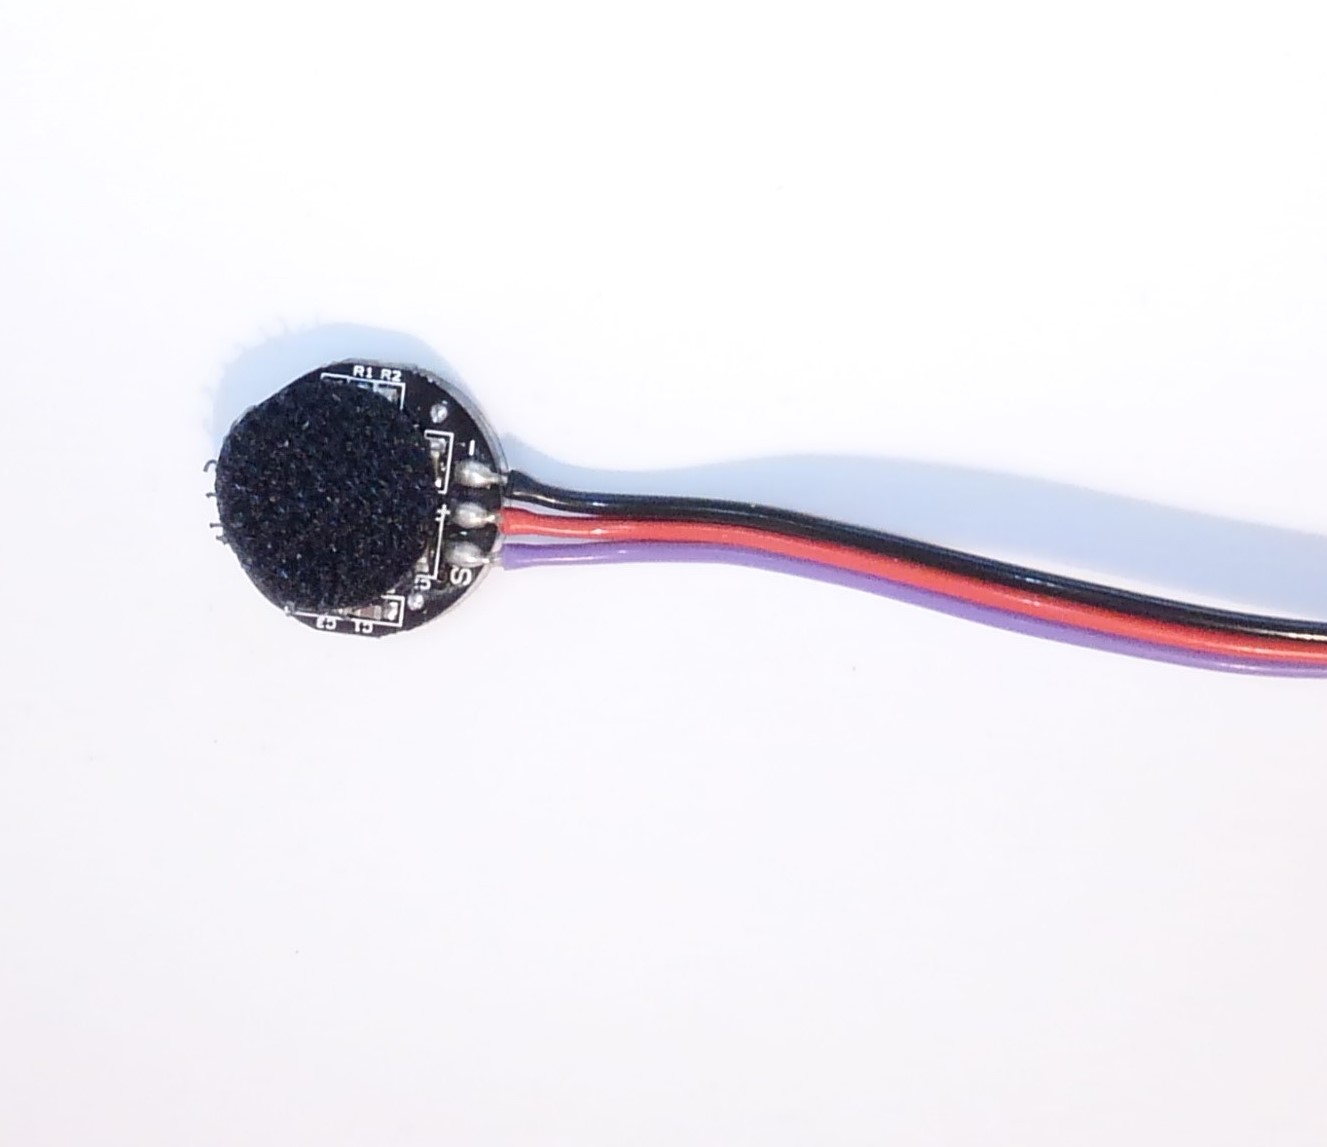
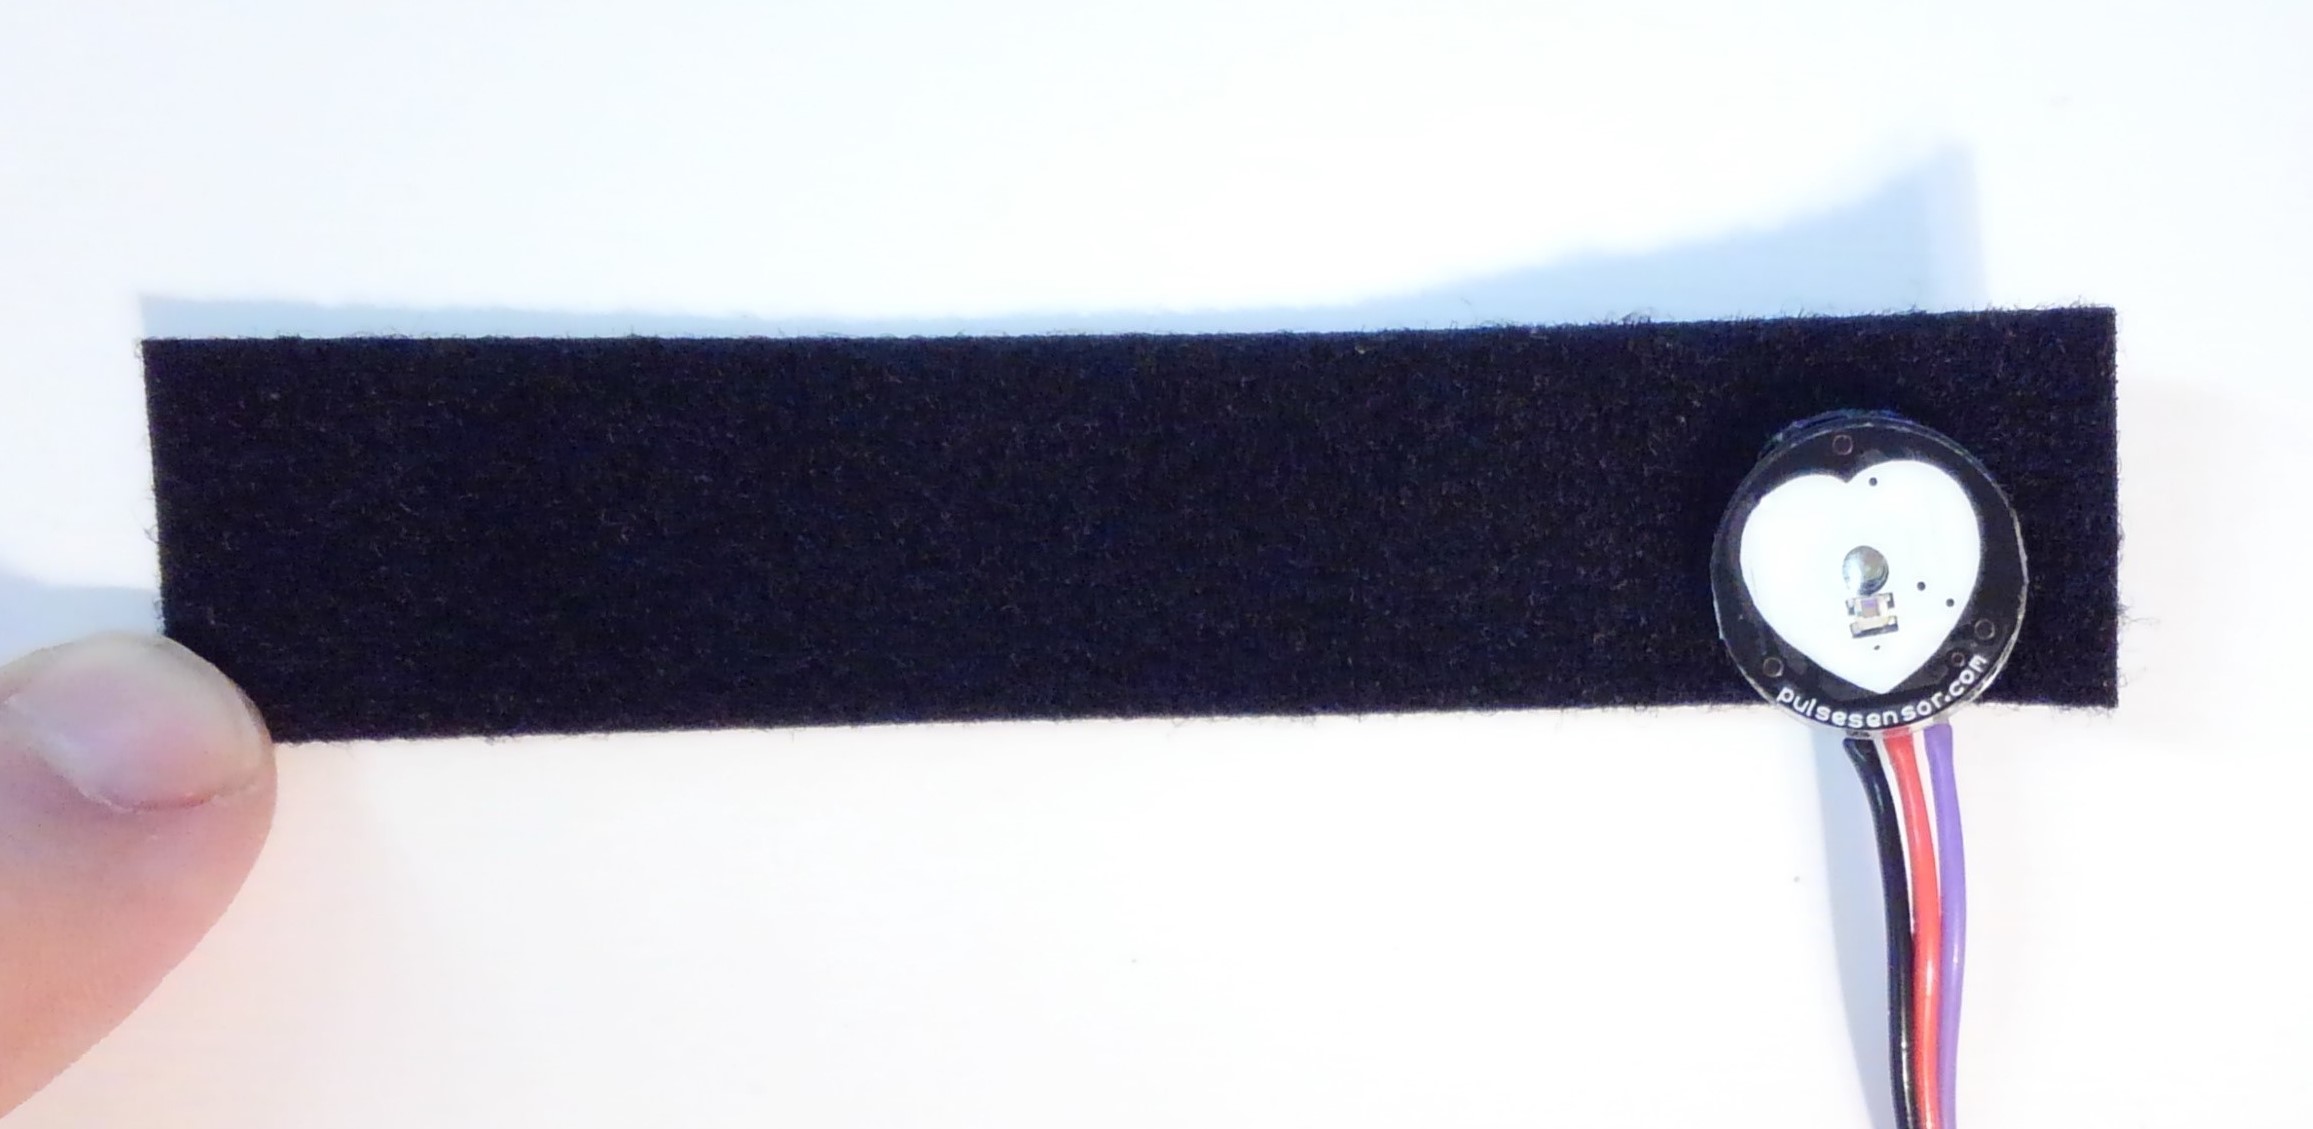
Attach one of the clear plastic pads that came with the pulse sensor to the white side of the sensor.
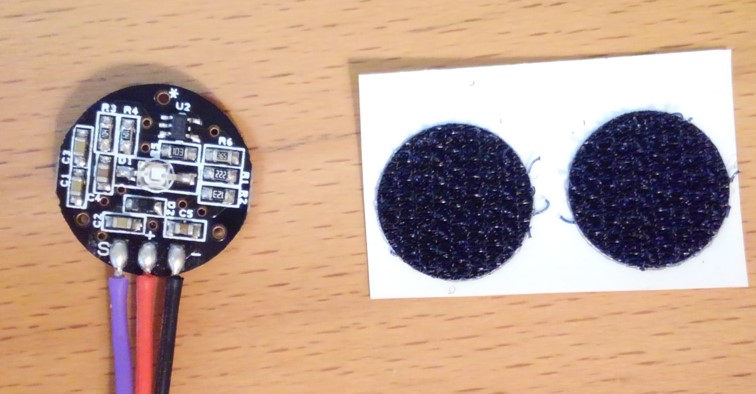
Attach one of the black velcro pads that came with the pulse sensor to the electronics side of the sensor.
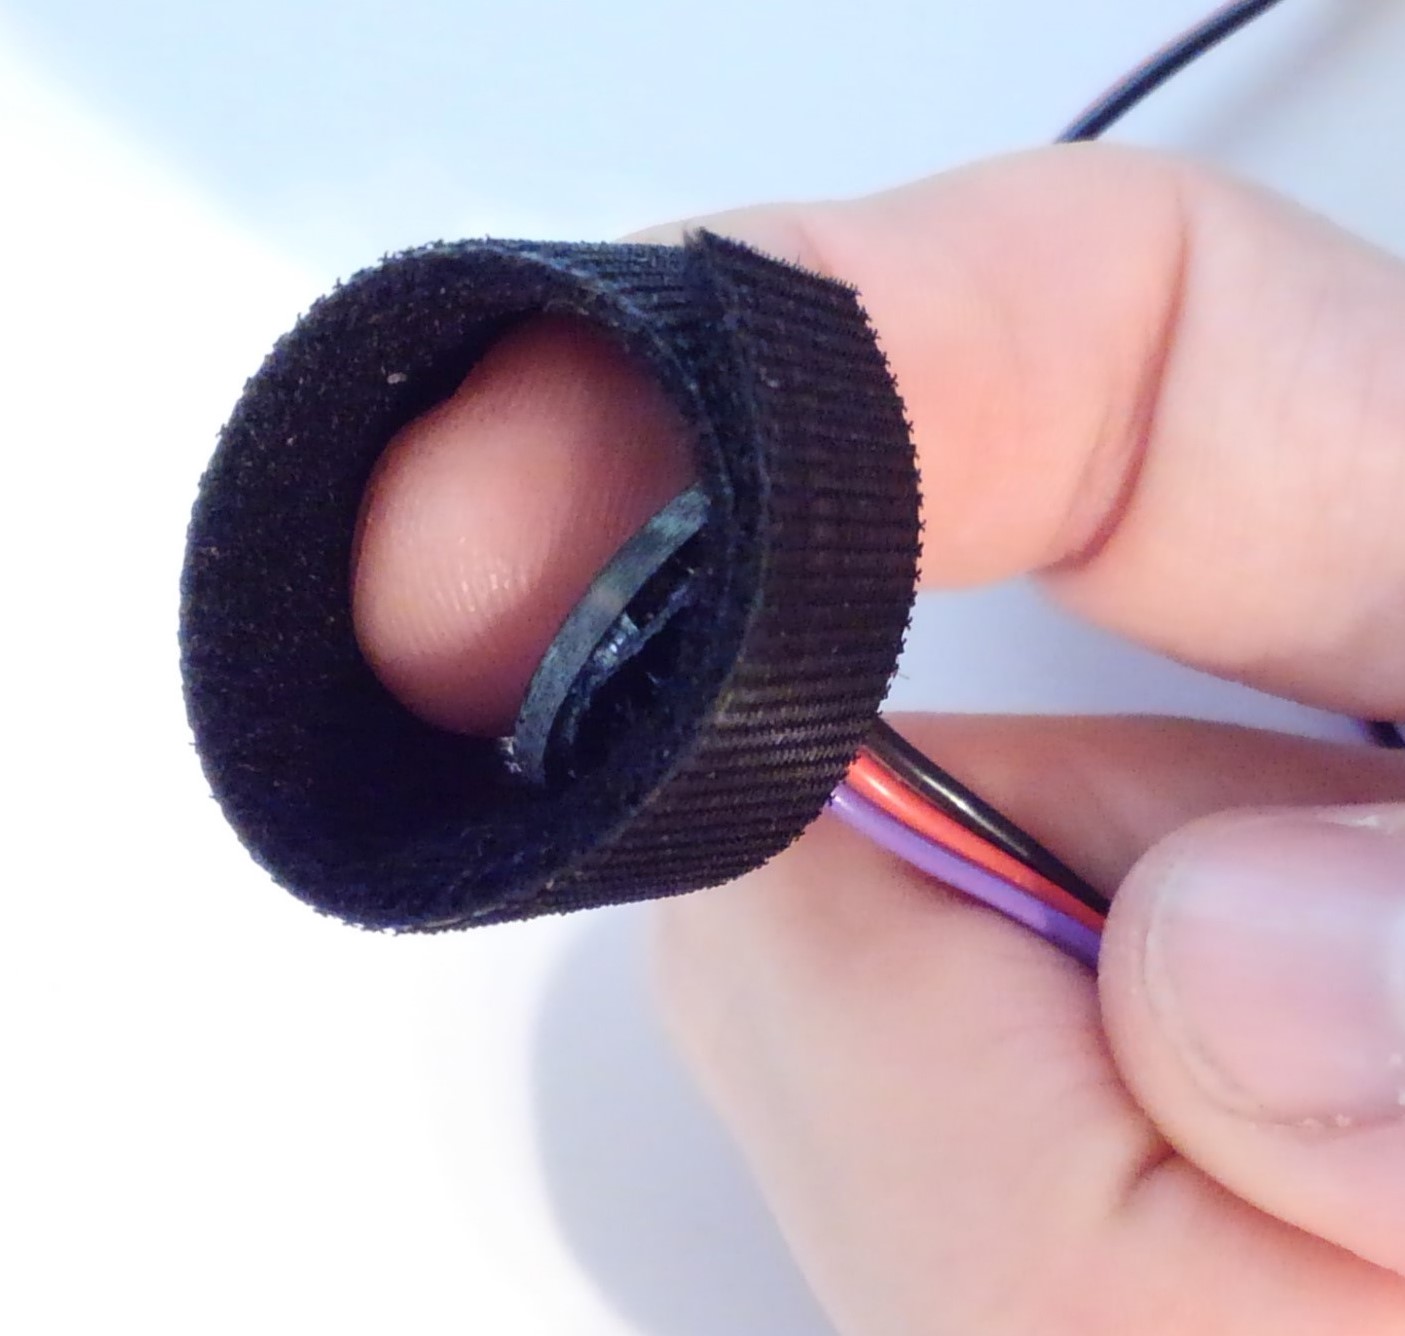
You will use the longer velcro strip that came with the sensor to wrap around your finger.
STEP 6:
Wire the components.
OLED Wiring with Qwiic
MicroOLED --------------- Photon 2
  GND ------------------- GND
  VCC ------------------- 3.3V
  SDA (blue) ------------ SDA
  SCL (yellow) ---------- SCL
Pulse Sensor Wiring
Pulse Sensor ------------ Photon 2
  GND (black)------------ GND
  VCC (red) ------------- 3.3V
  Data (Pink) ----------- A1
Additional Wiring
Button: D3
Switch:
  Pin 1 -- GND
  Pin 2 -- EN
Fritzing design
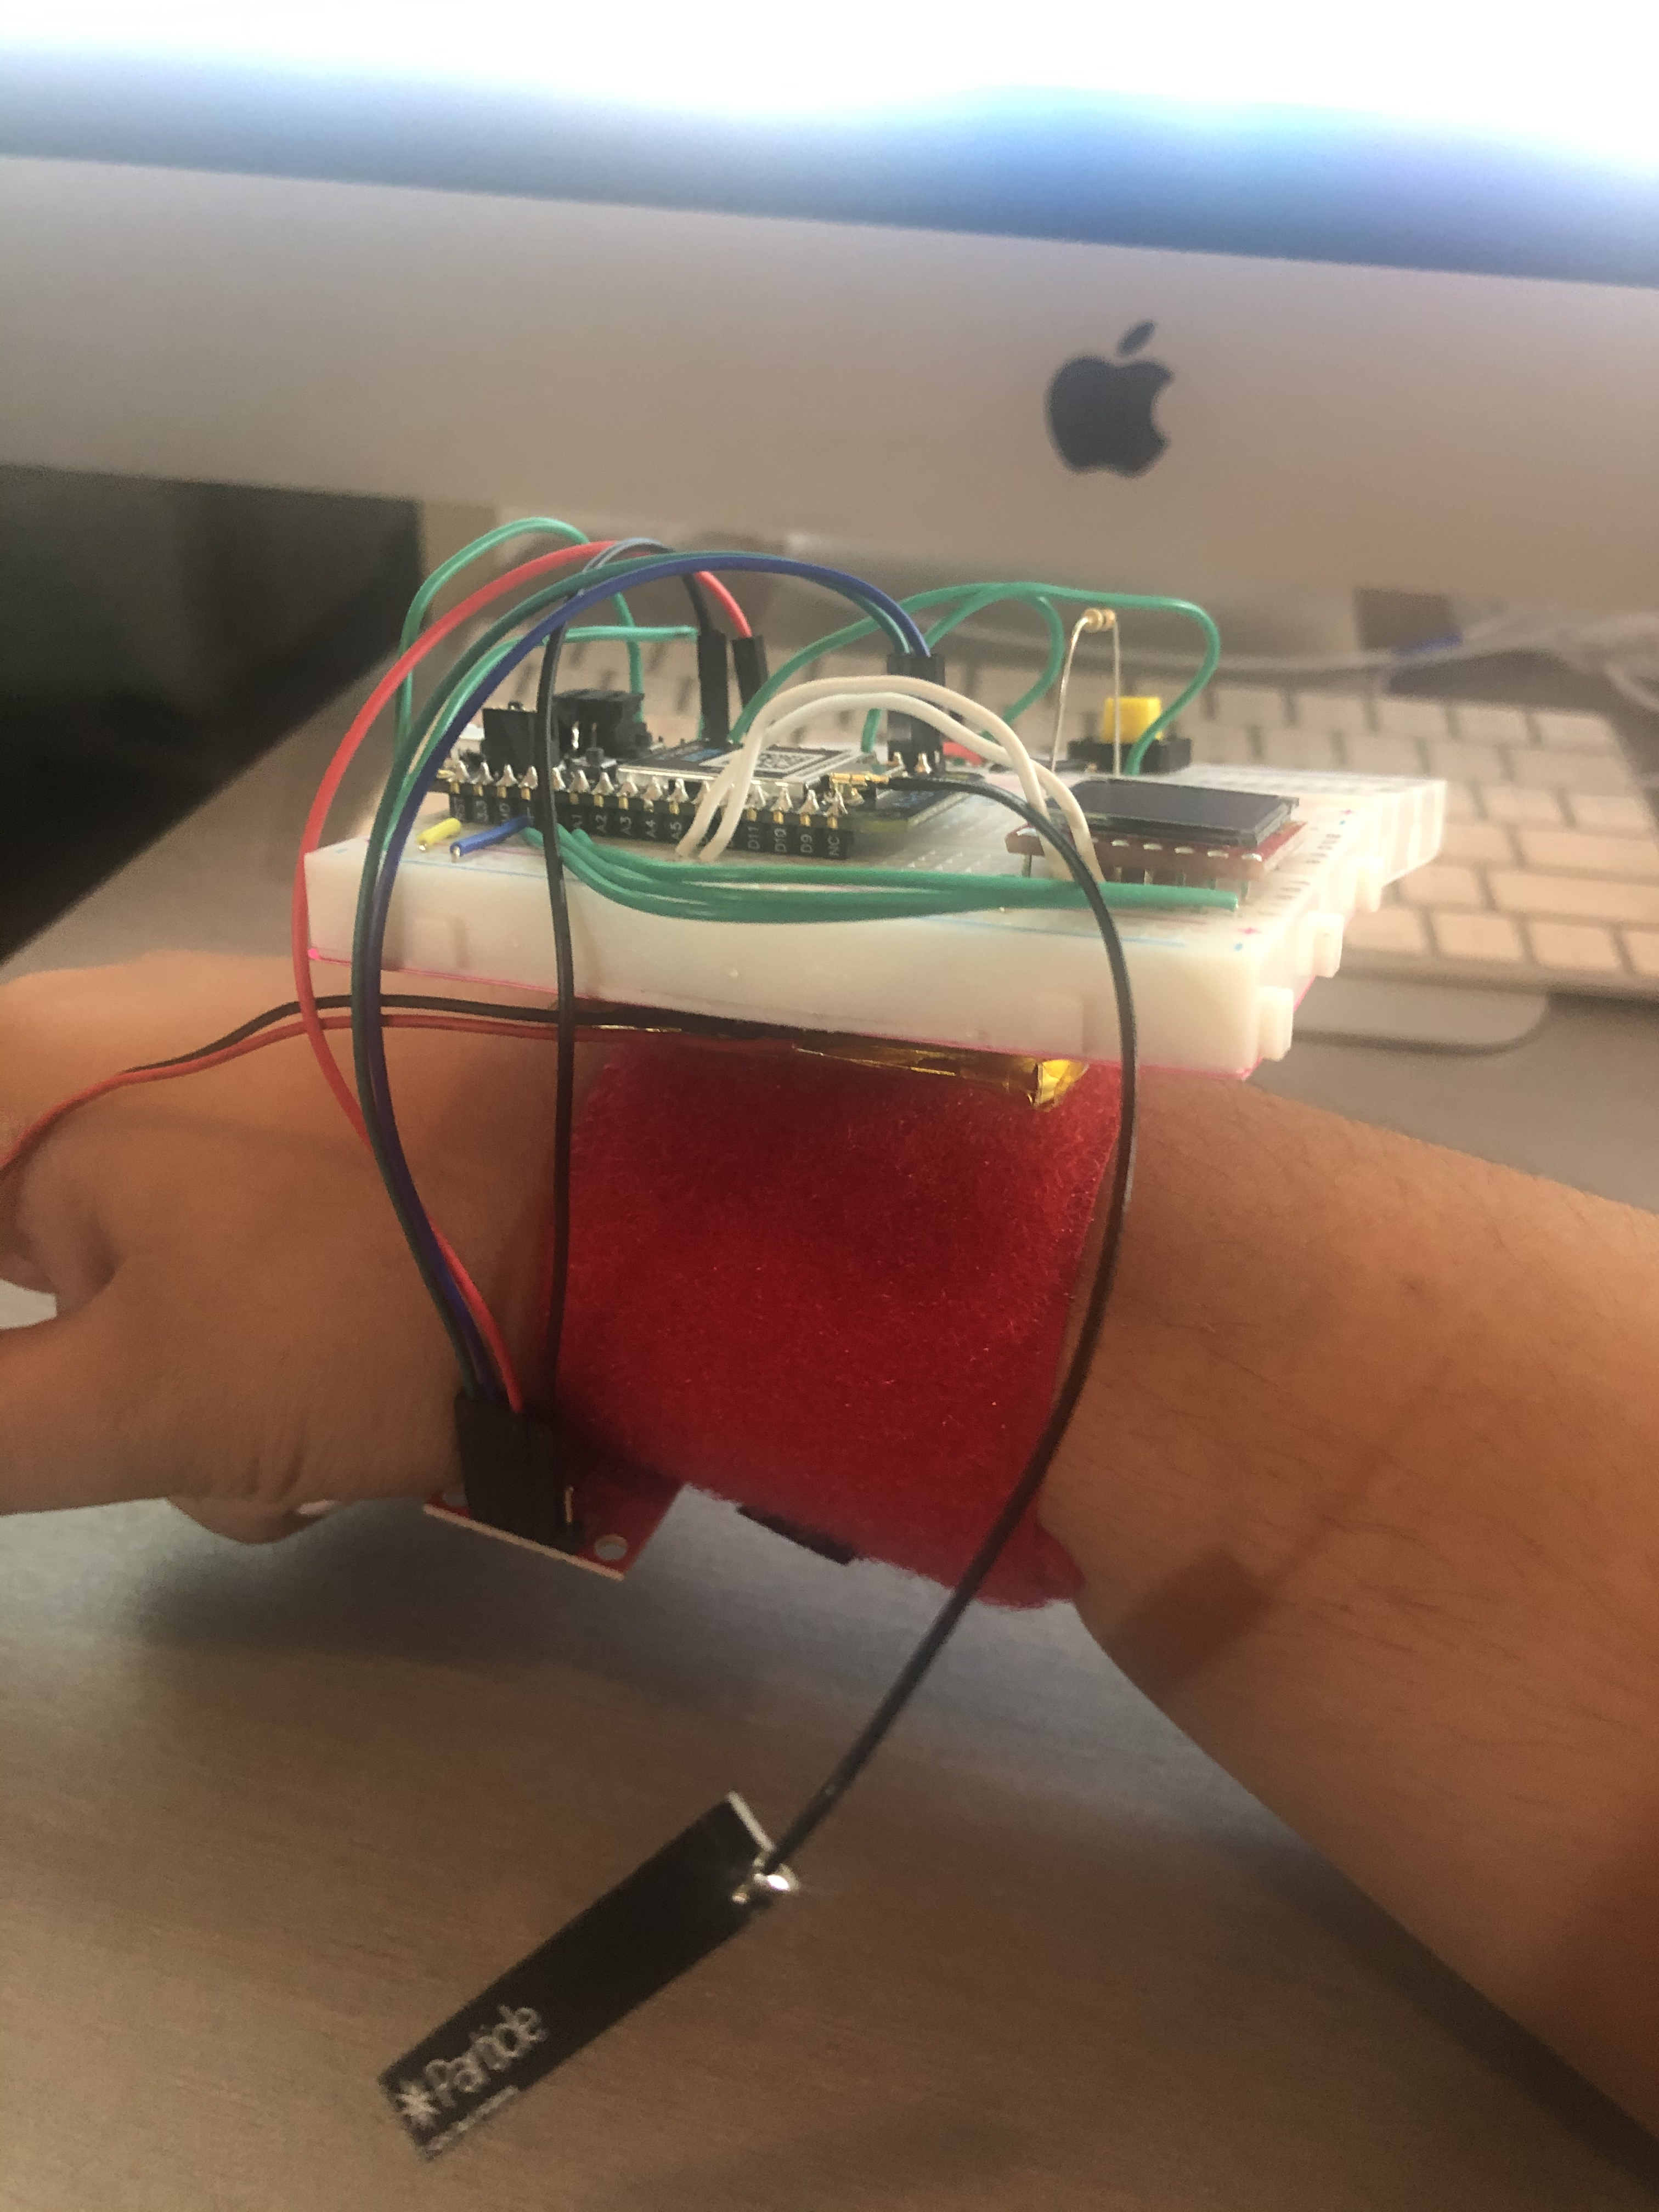
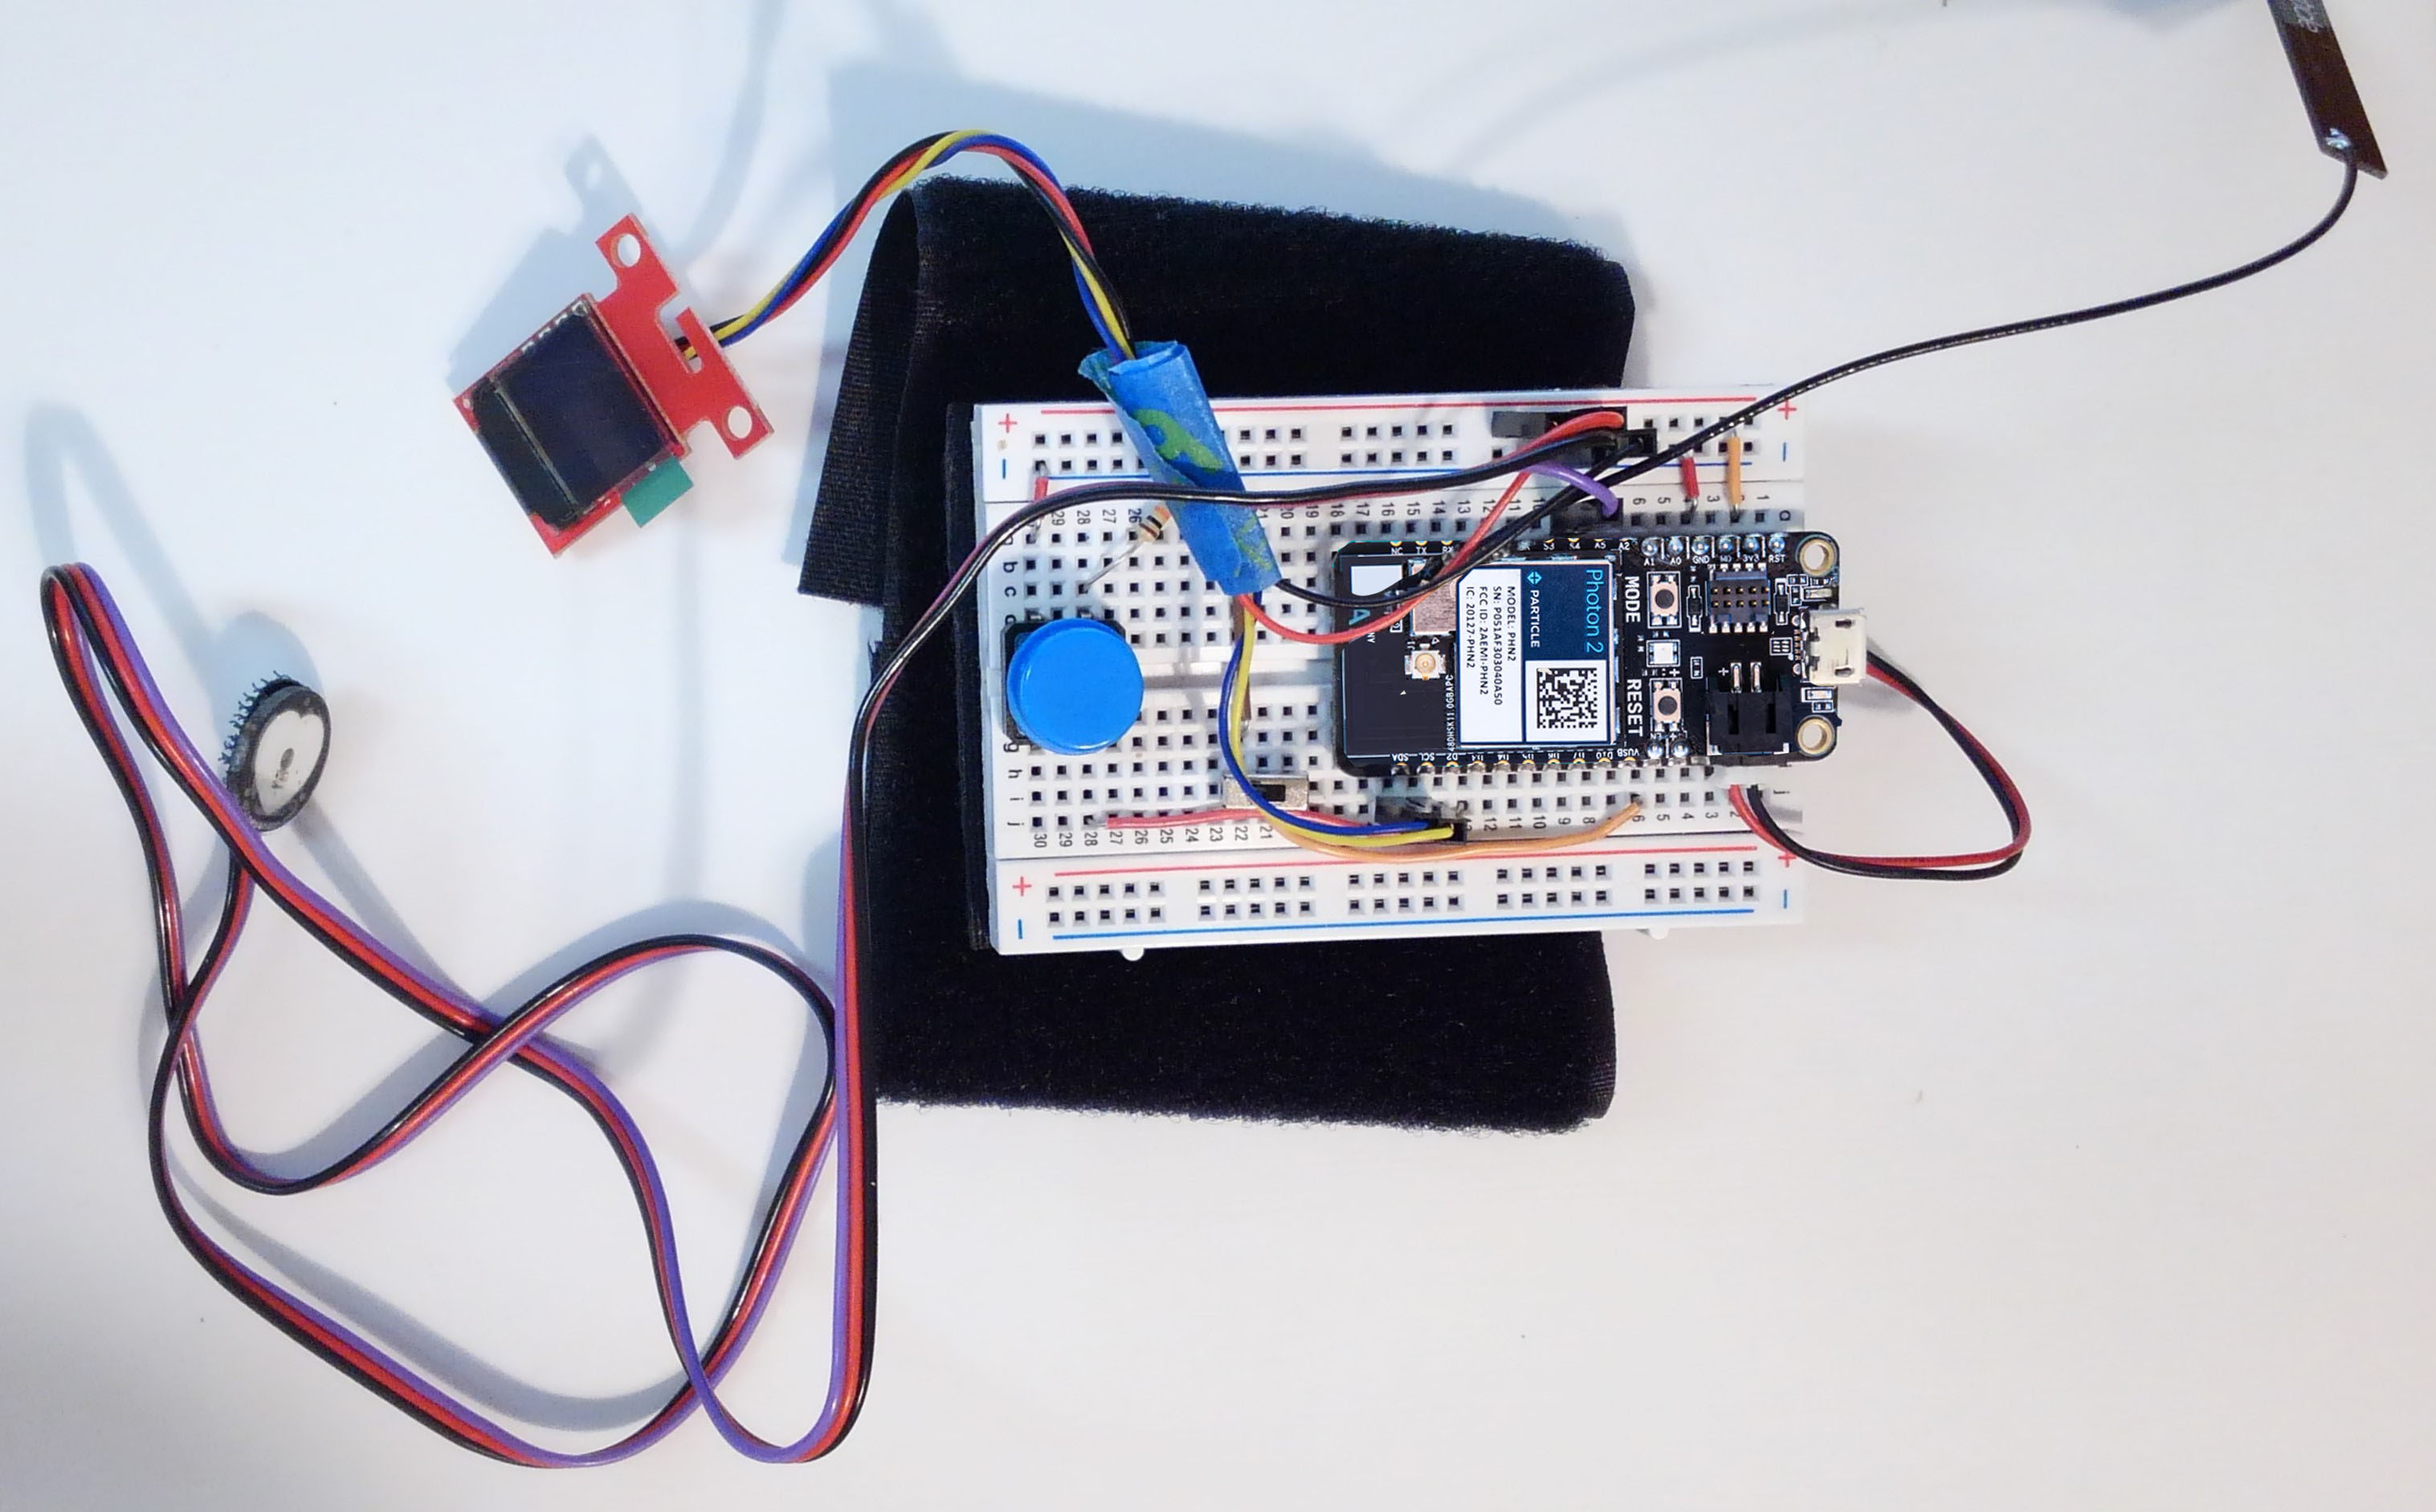
Completed Assembly
Note: These photos feature a slightly different OLED screen, but the overall design is the same
Credits
- Diagrams made with Fritzing