Guide to Car Chassis Assembly
ITP 348: Car Chassis Setup
Note: These instructions are deprecated because they use the old red robot chassis
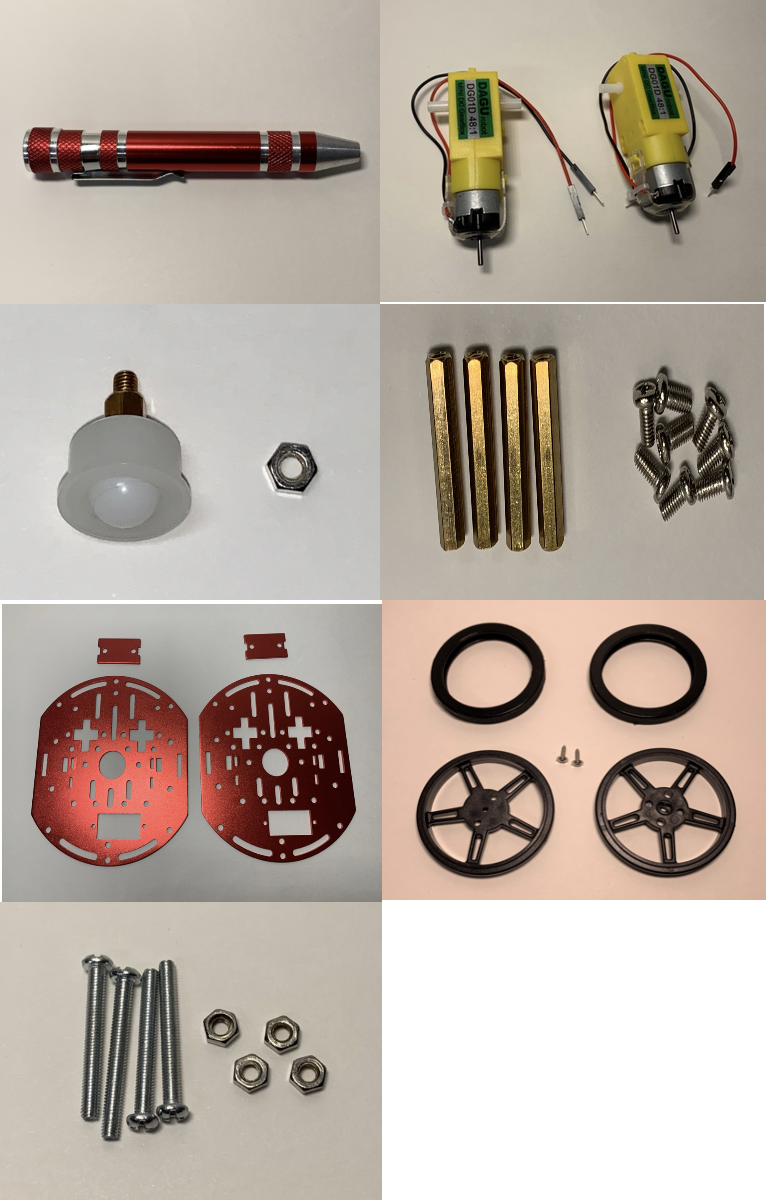
Items You will Need
- Screwdriver
- 2 DC Gear Motors
- 1 Ball Caster and 1 Hex Jam Nut
- 4 Standoffs and 8 Small Screws
- Bottom and Top Plates with DC Motor Brackets
- 2 Wheels and 2 Screws
- 4 Long Screws and 4 Hex Jam Nuts
Instructions
- Follow the steps in this guide to assemble the
- The following video can be helpful in assembling the chassis: Two-Layer Chassis Assembly
- The following
Part 1: Building Chassis
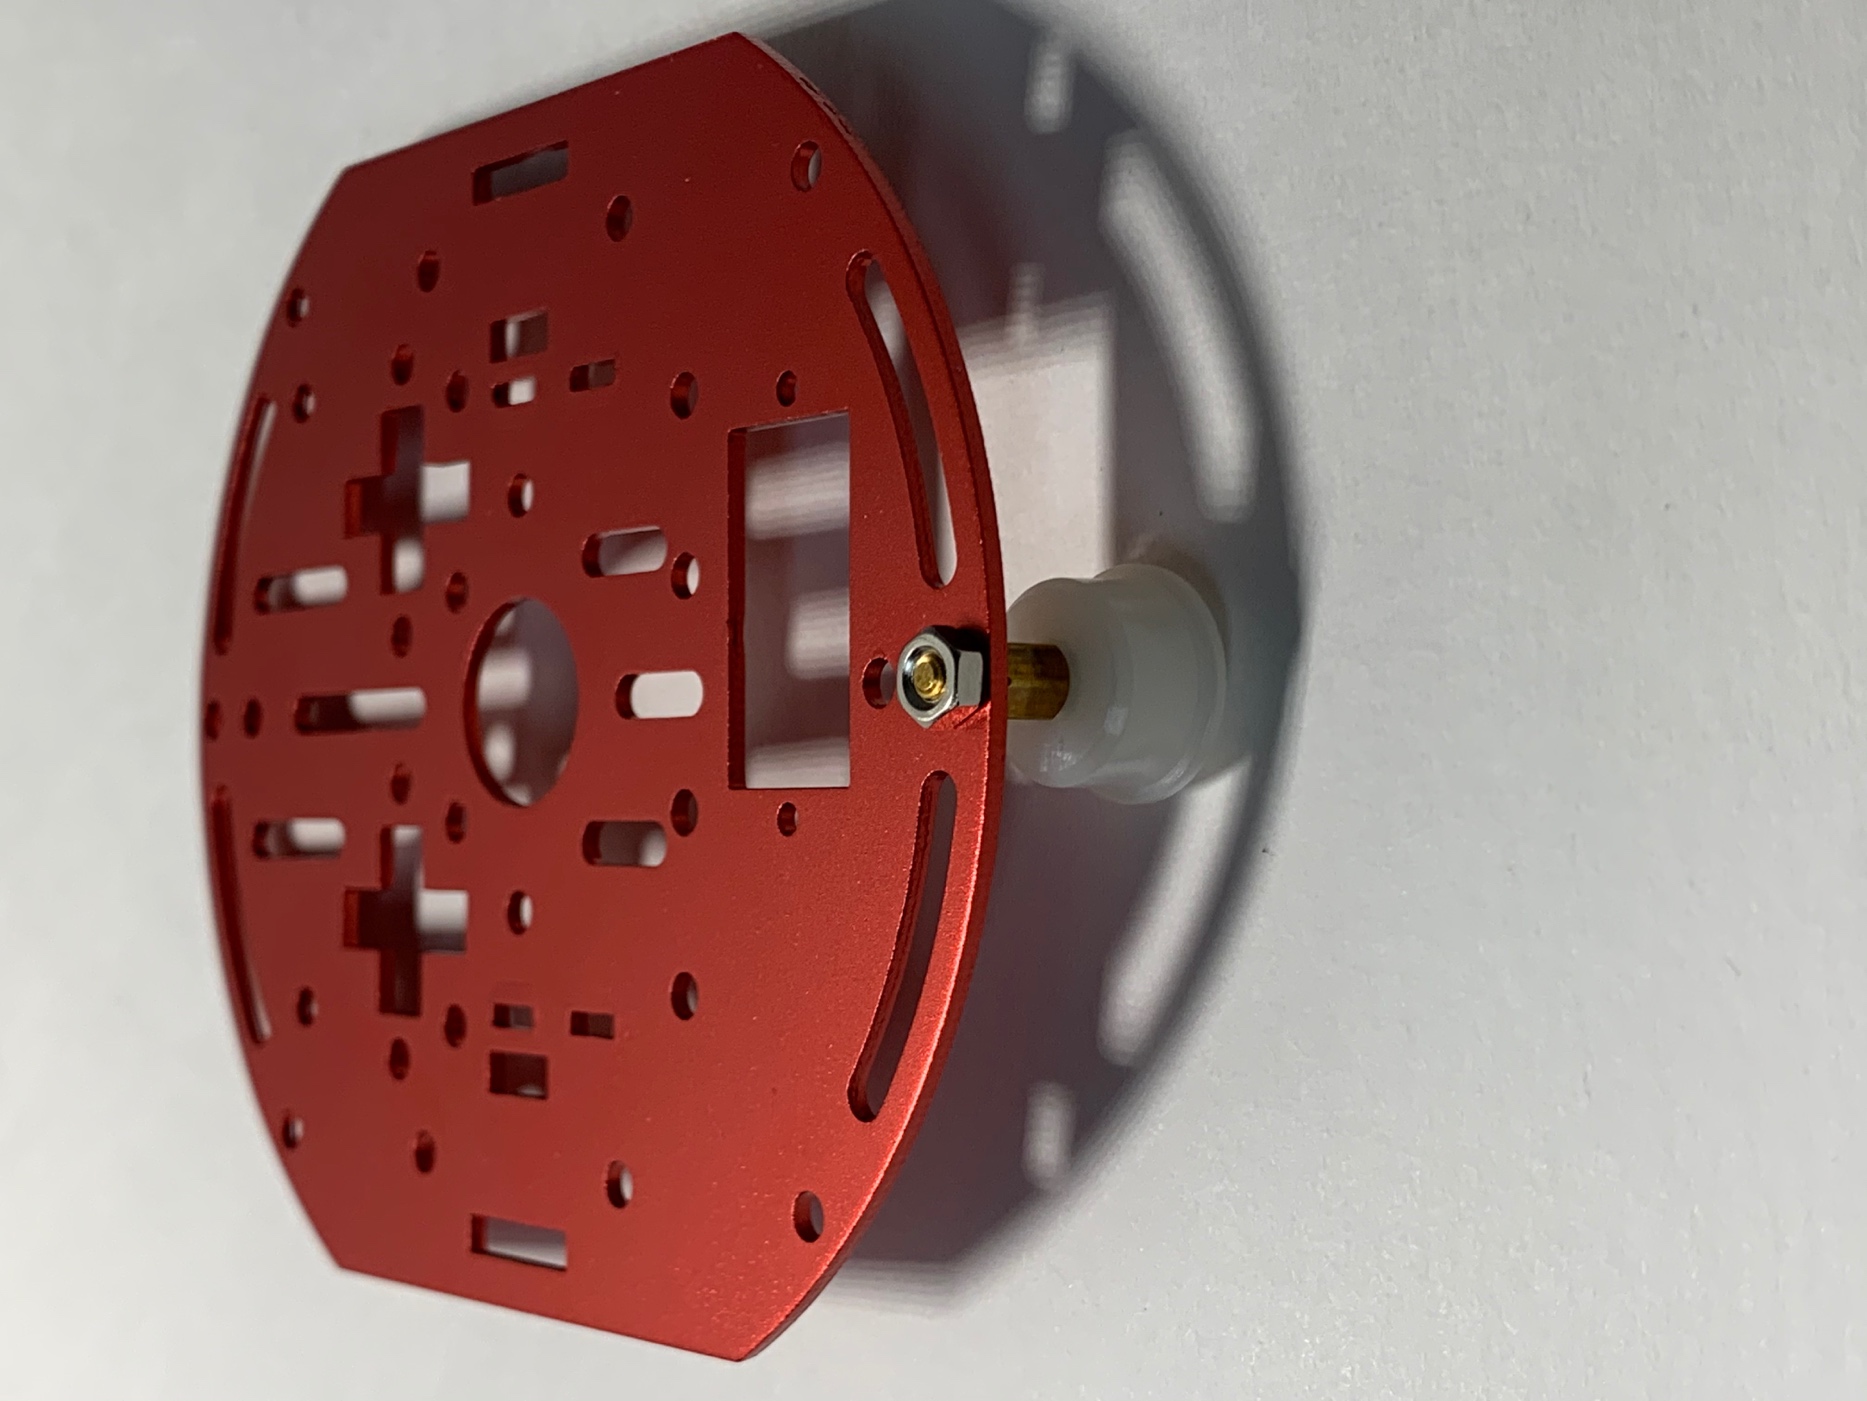
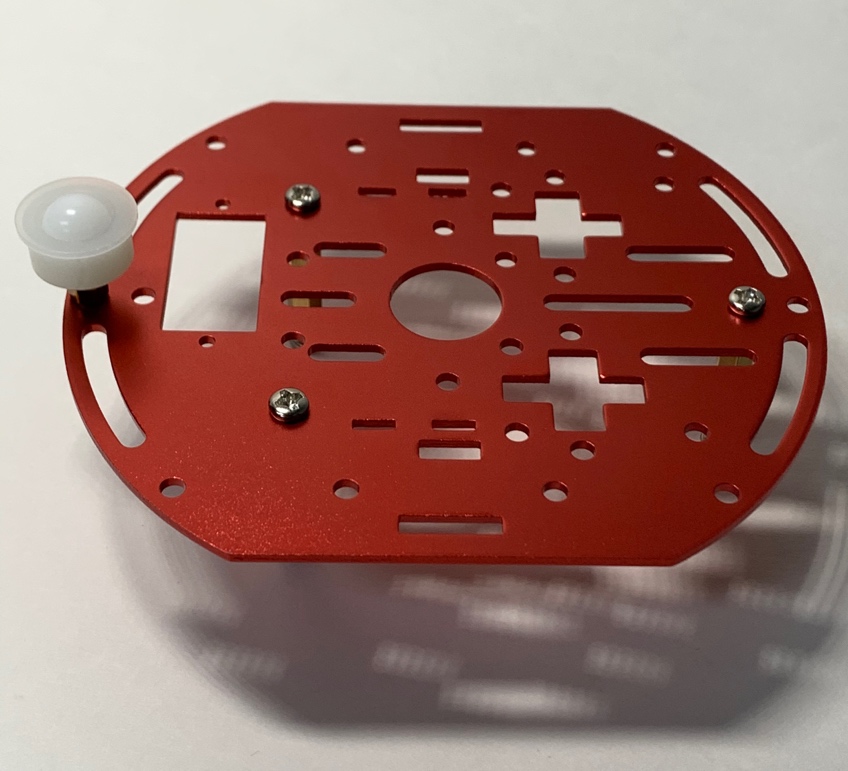
Step 1: Attach Caster
Screw the Ball Caster to the Bottom Plate
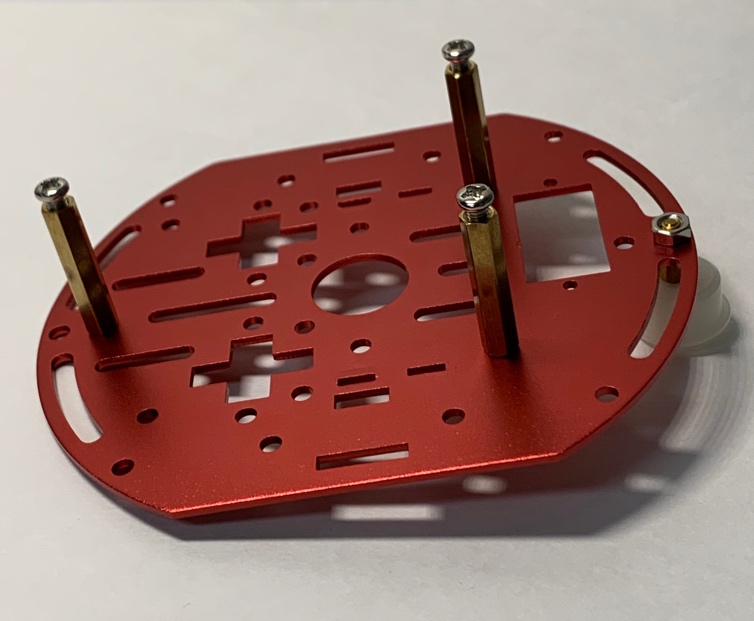
Step 2: Attach Standoffs
Screw on 3 of the Standoffs to the Bottom Plate using 6 of the screws.
Top View
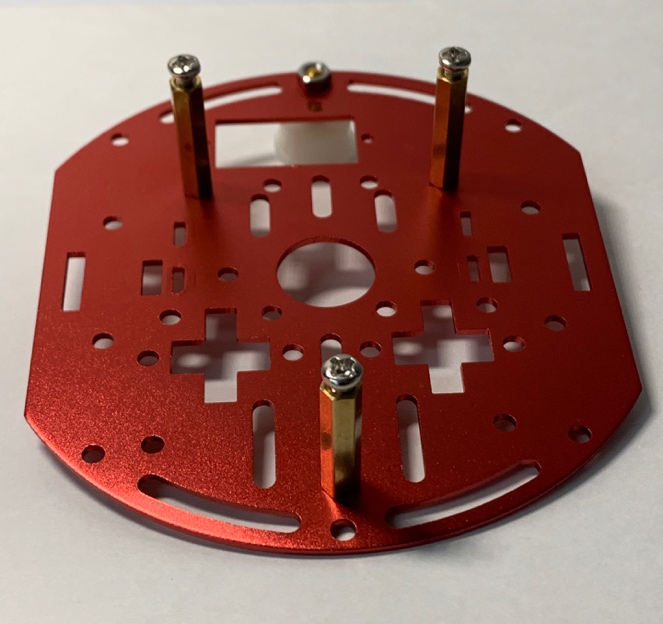
Bottom View
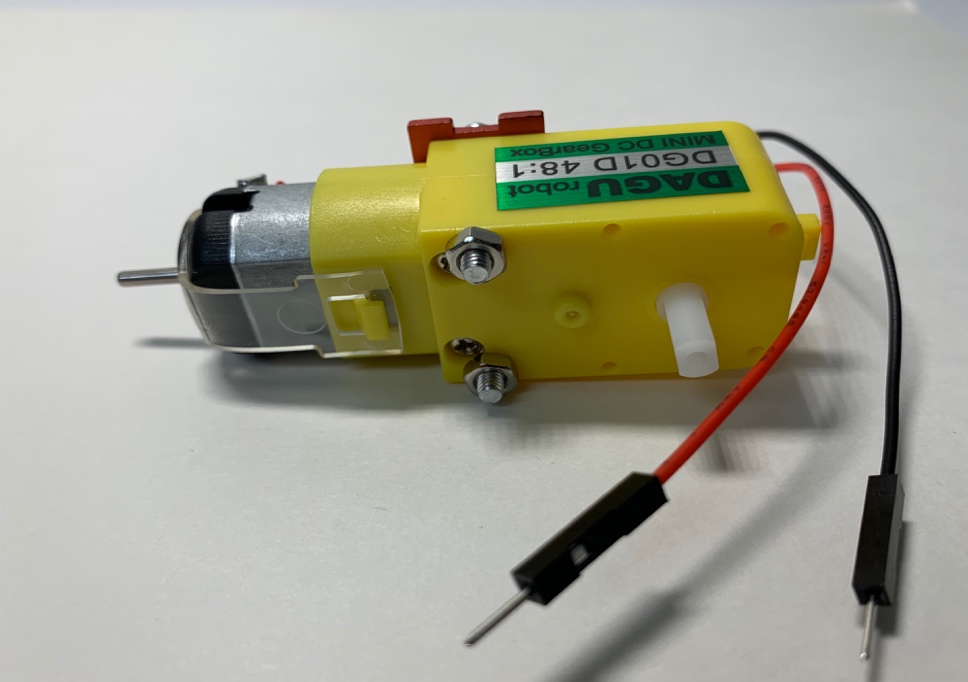
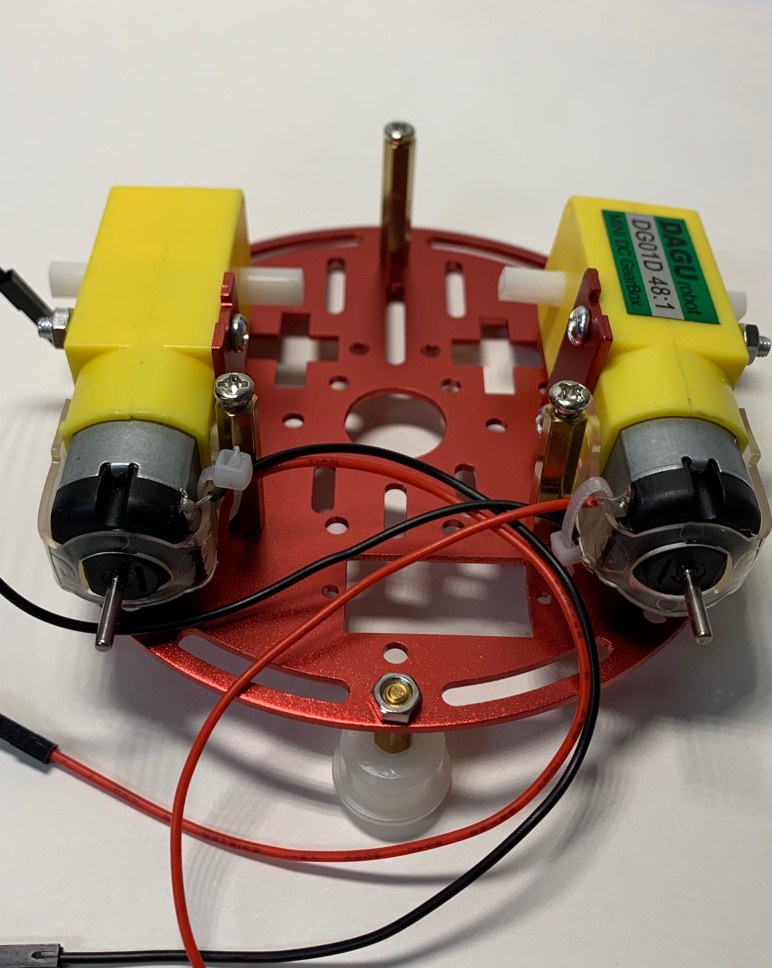
Step 3: Attach Motor Brackets
Screw the DC Motor Brackets to the DC Motors using the Long Screws and Hex Nuts

Step 4: Align Brackets
Align the Top Plate with DC Motor Brackets and Standoffs attached to the Bottom Plate
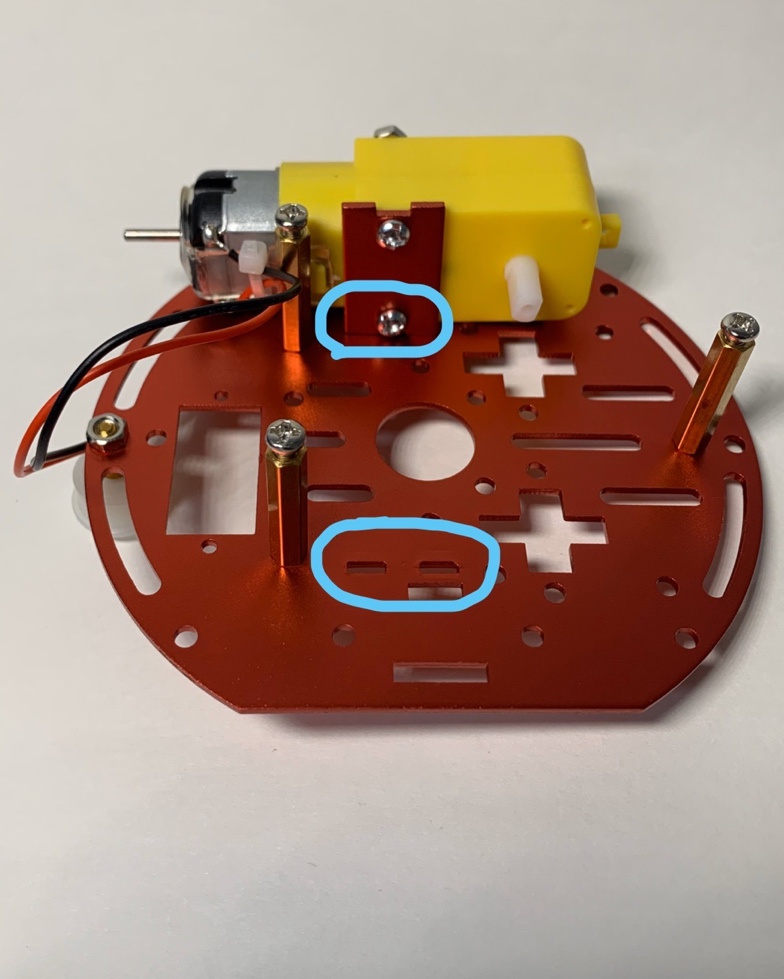
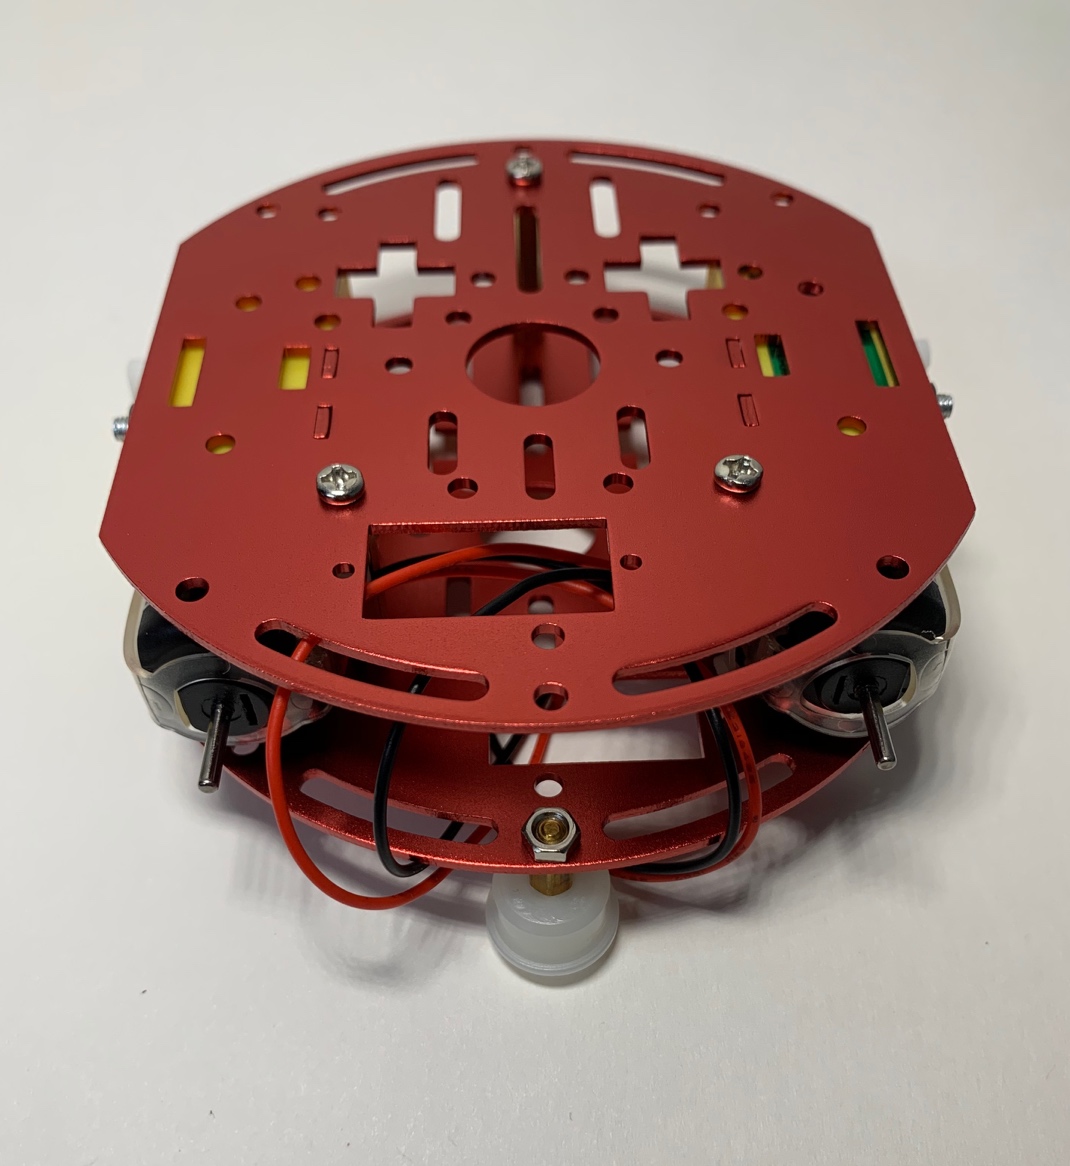
Step 5: Attach Top Plate
Screw the Top Plate to the standoffs.
Note: Make sure DC Motor wires are on the inside of the chassis pointing inwards not outward
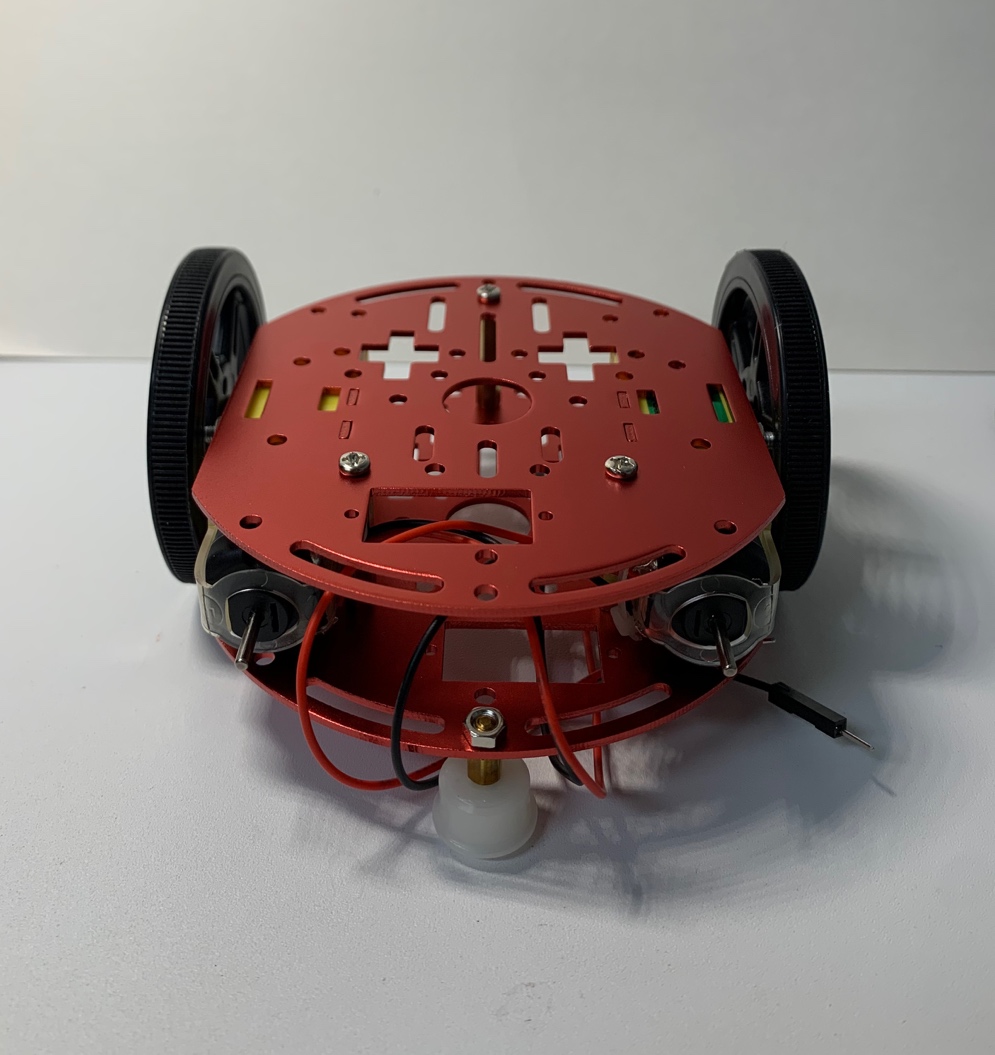
Step 6: Attach Wheels
Screw on Wheels to DC Motors and add the wheel rubber tires.

Part 2: Wiring
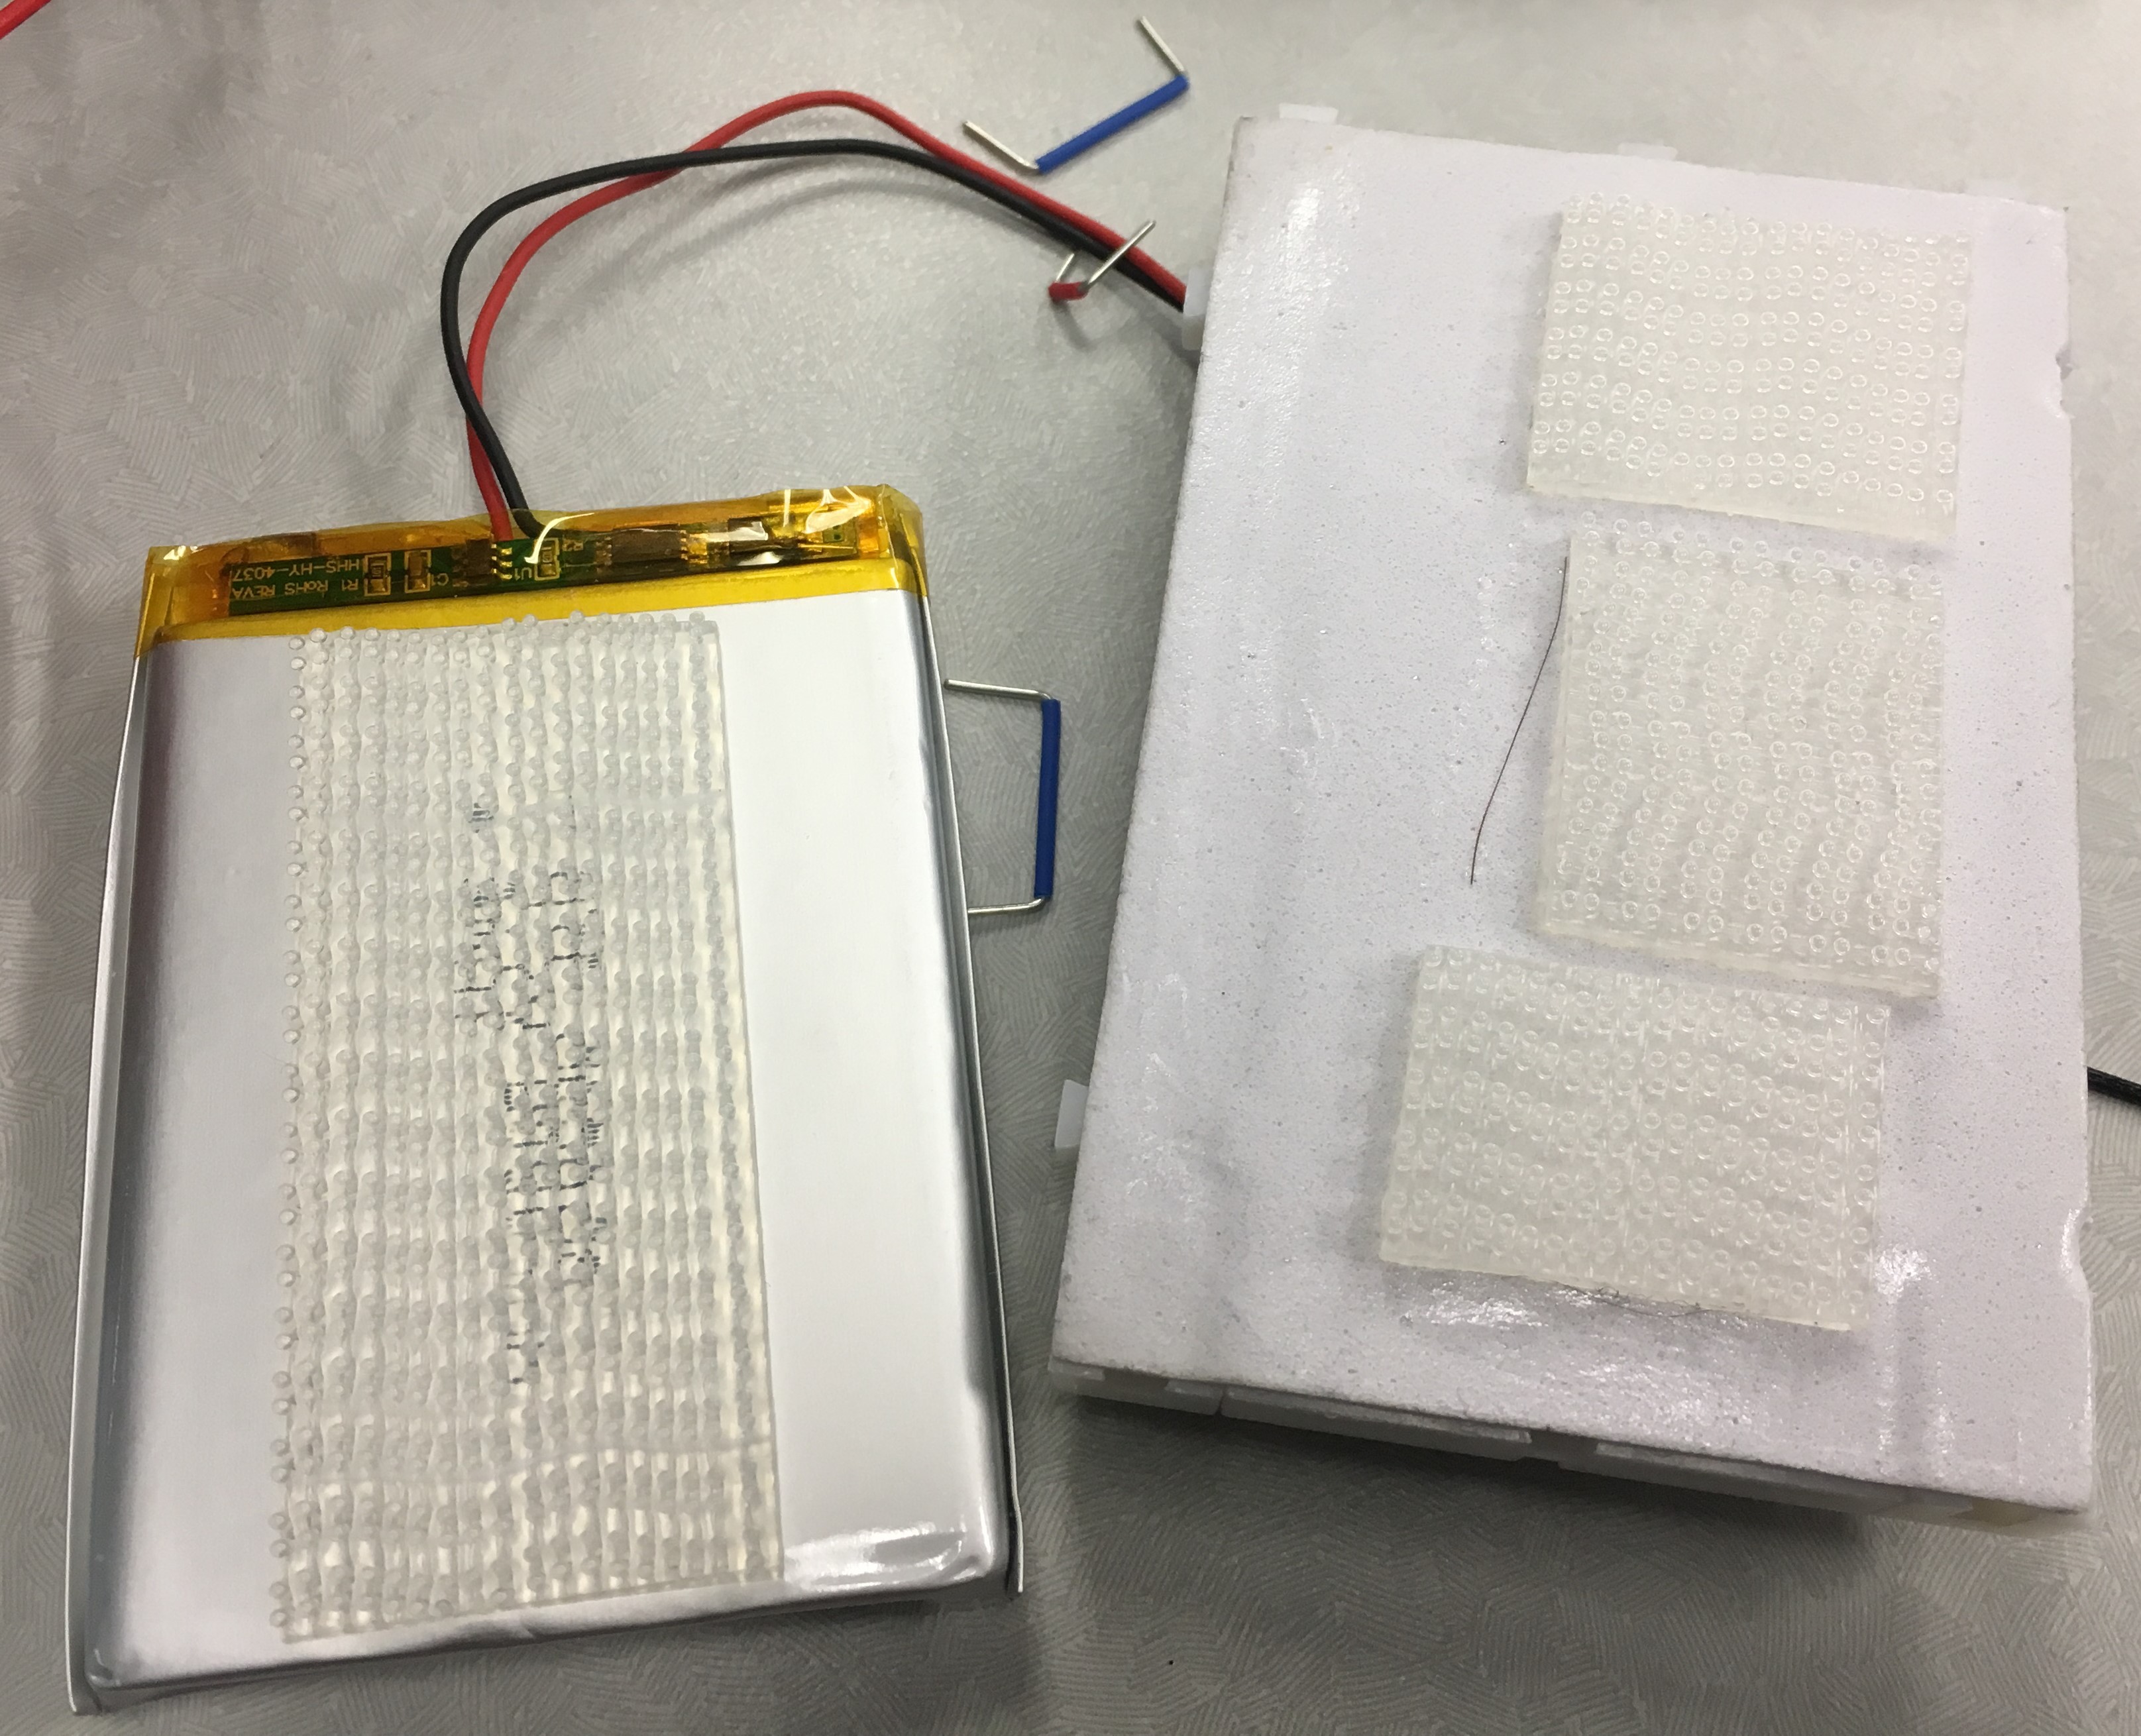
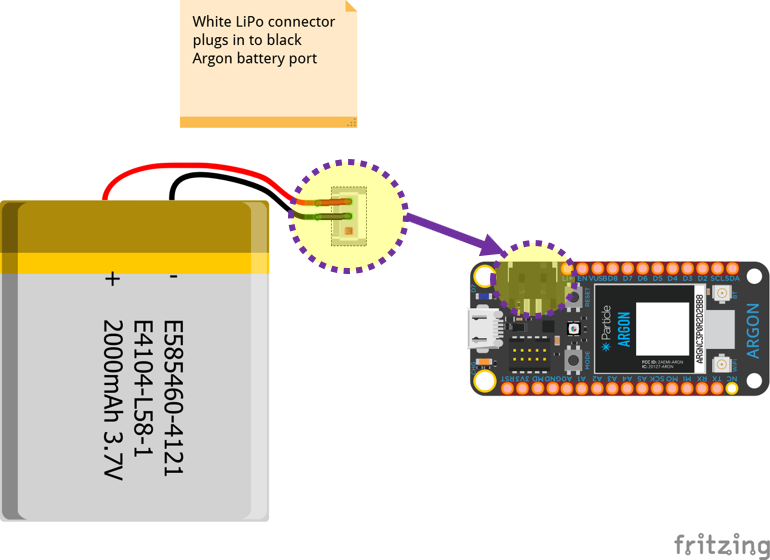
Step 7: Attaching the Battery
- The battery can be attached to either the top or bottom of the chassis, but to avoid damaging it, it is recommended to attach the battery to the top of the chassis
- The breadboard can then be attached to the battery

==Important: If you are working on another assignment concurrently, consider building the this project on a different breadboard==
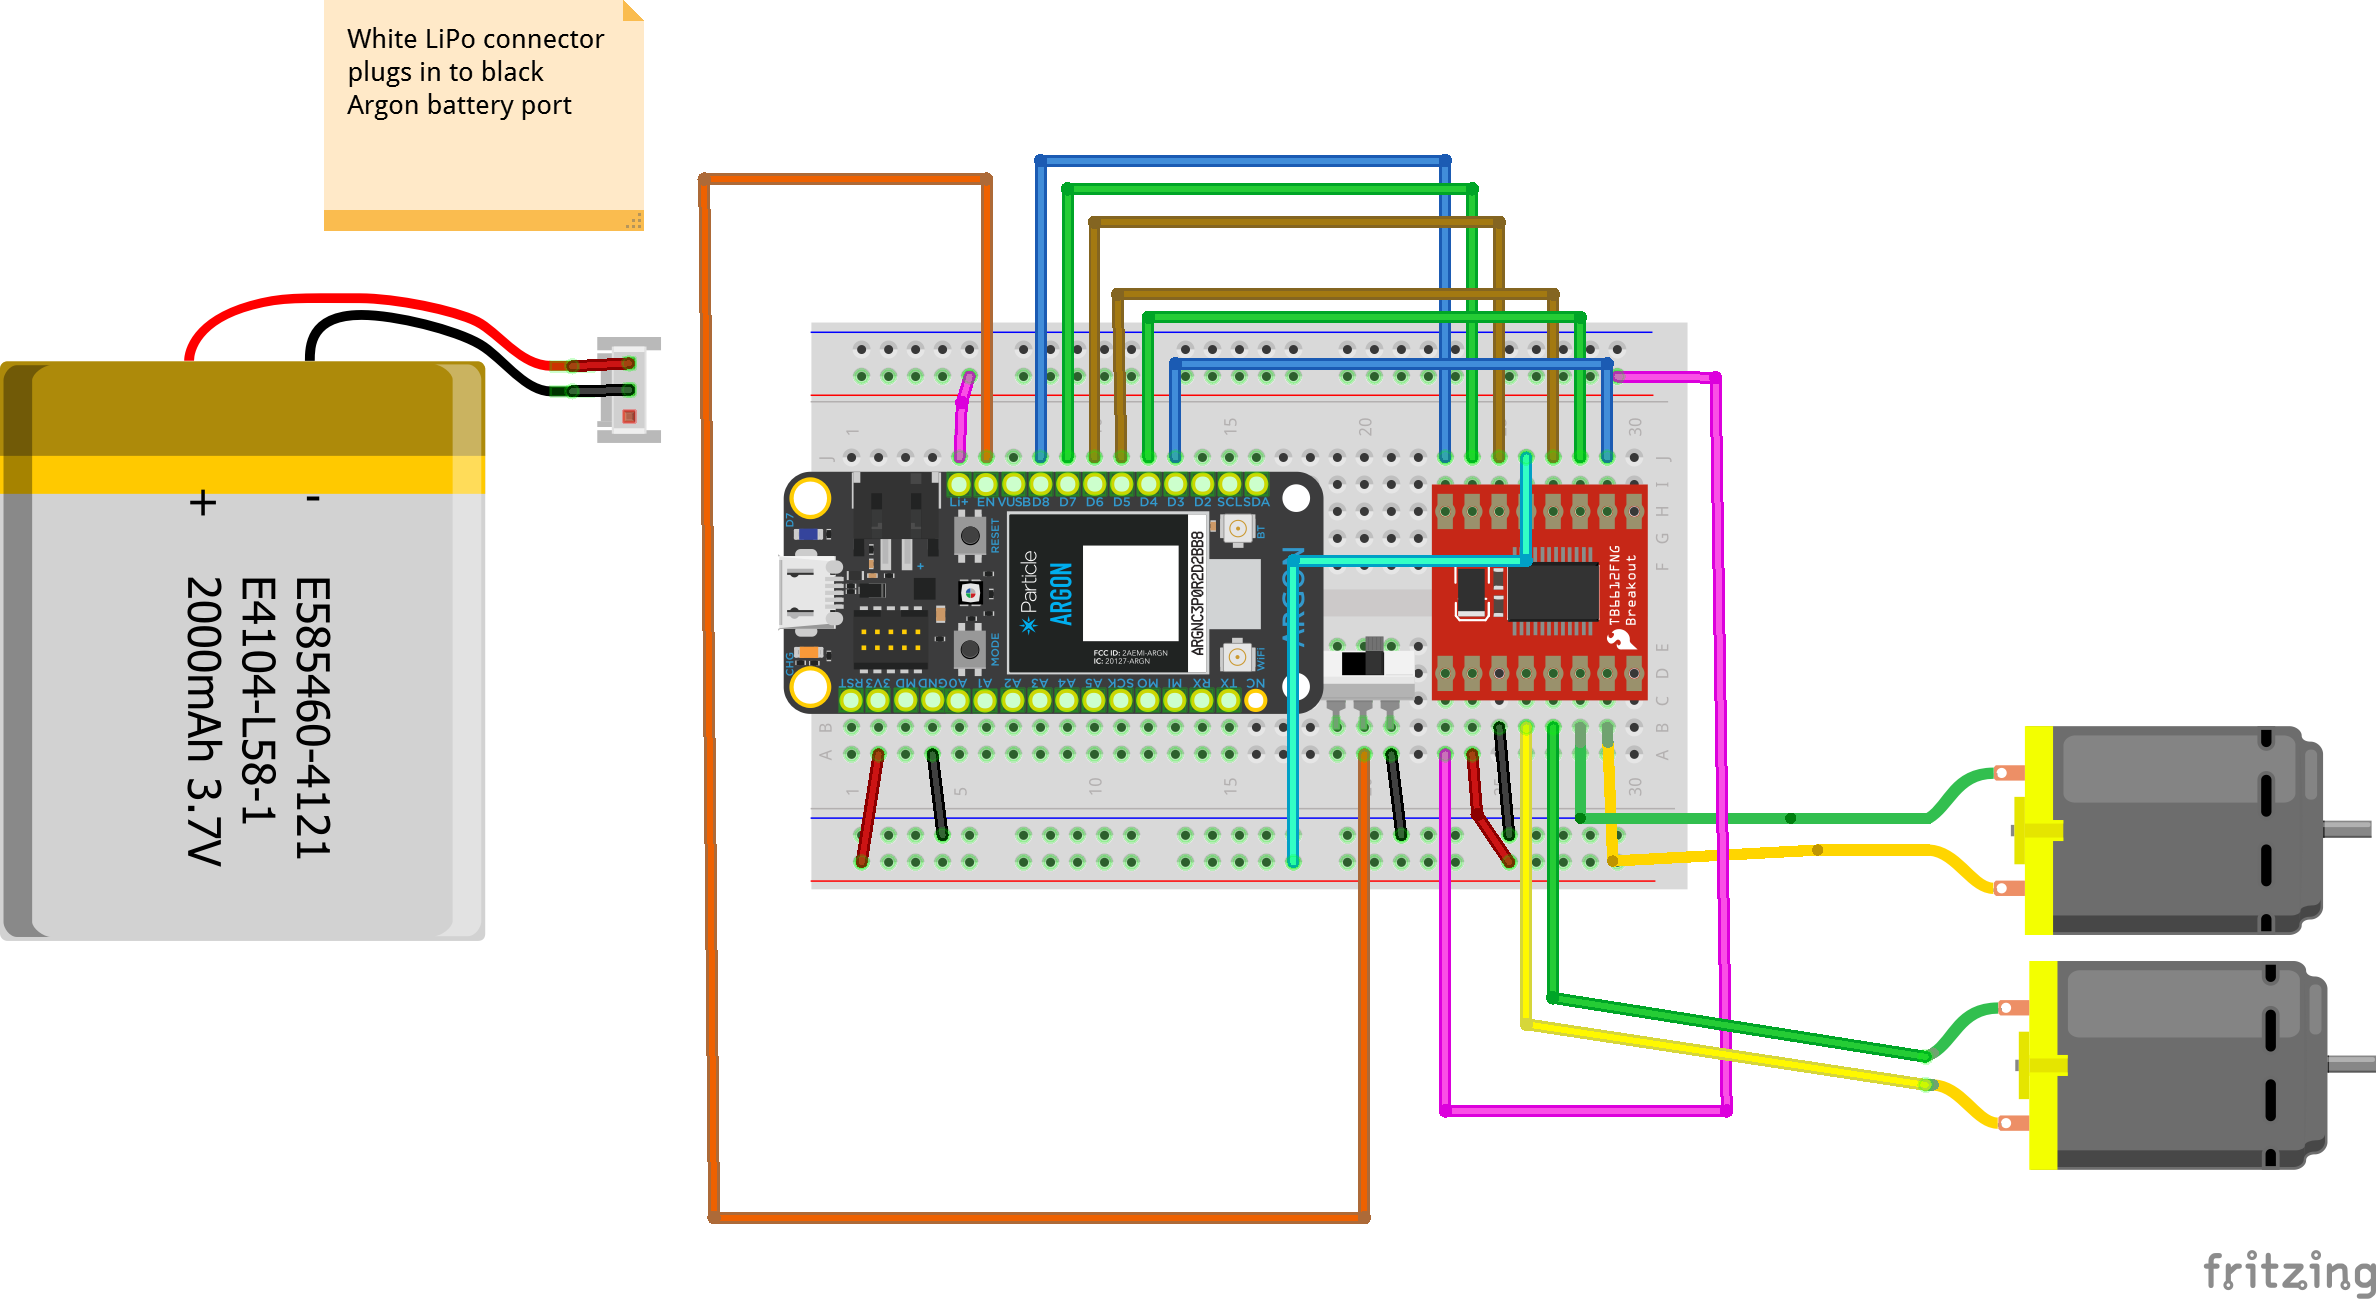
Step 8: Build Circuit with Motor Controller
Motor Controller Wiring Guide
| Motor Controller | Photon 2 | – | Motor Controller | Photon 2 |
|---|---|---|---|---|
| PWMA | D8 | VCC | 3v3 | |
| AIN2 | D7 | GND | GND | |
| AIN1 | D6 | VM | Li+ | |
| BIN1 | D5 | STBY | 3v3 | |
| BIN2 | D4 | |||
| PWMB | D3 |
Wiring Diagram
- Note the diagram below uses two mini breadboard. This was because the diagram because the switch was move to keep the diagram readable.
- If you prefer, you use a single mini breadboard instead. You can do this by moving the switch onto the first breadboard between motor controller and the Photon 2